
I’ve got a 2005 Ural Gear Up - and I noticed towards the end of last fall that my seat was getting really, really soft and bouncy on rough gravel roads. On top of that, I was having to hold myself forward or I’d go sliding off the back. Clearly, this isn’t how things are designed to work - so I investigated!

What was the problem? My seat support cracked, and was allowing far more movement than intended. On top of that, the rear rubber support (“spring”?) was old, and simply didn’t offer as much resistance to movement as it once did.
How bad were things? Well… here’s how far the support had cracked. It wasn’t completely through, but it was getting there in a hurry.

Time to fix this! Fortunately, I know someone who is quite good with a welder.
What the Heck is a Ural?
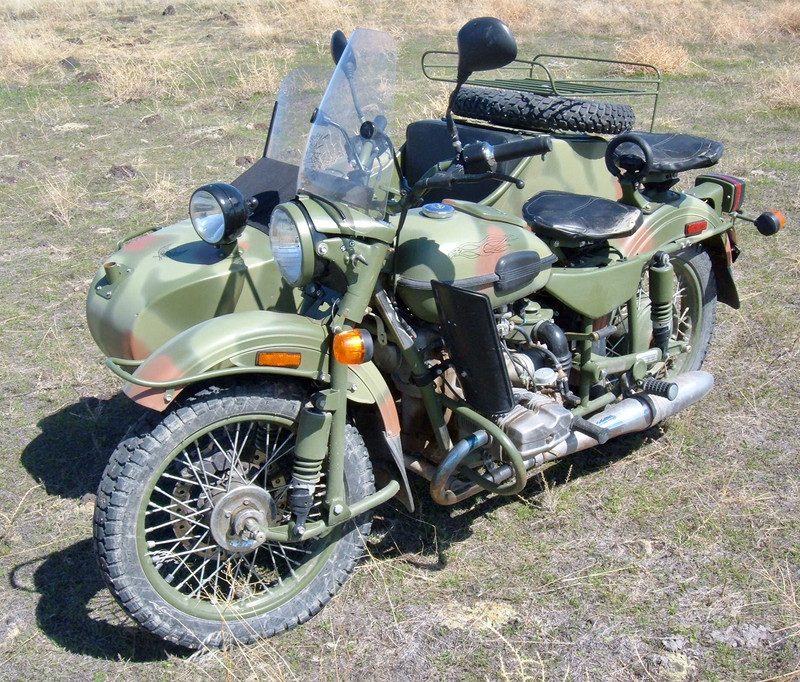
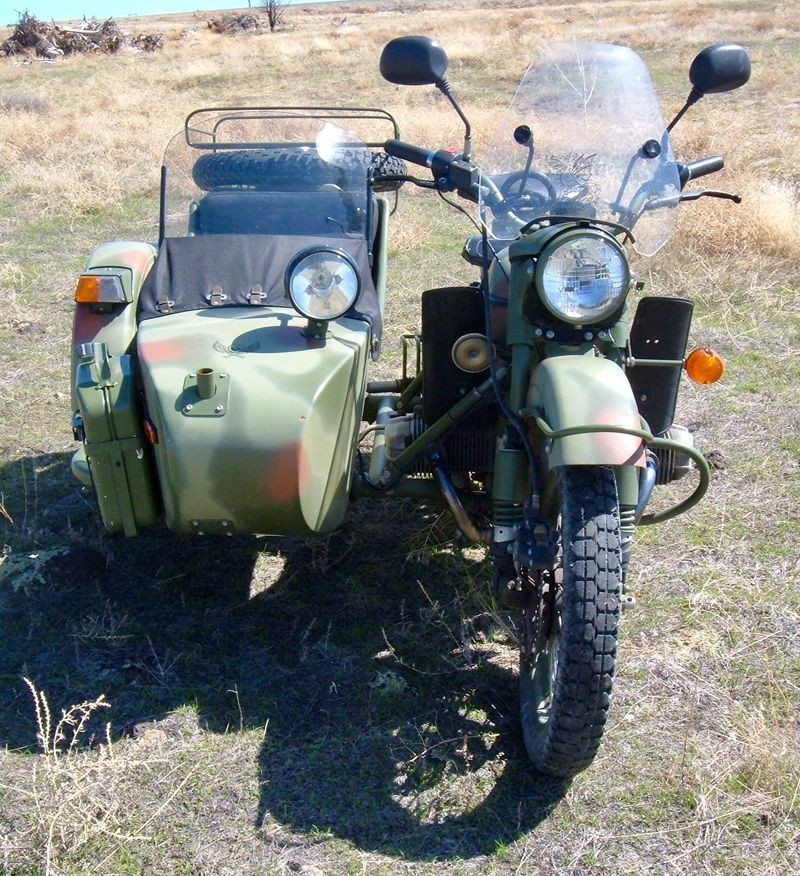
If you haven’t heard of Ural, it’s a Russian motorcycle company that builds motorcycles with sidecars - but they’re not just motorcycles with sidecars. They’re motorcycles designed from the ground up to run with sidecars. So you get things like 2WD - I can flip a lever and have the sidecar wheel turning along with the motorcycle rear wheel to get through slippery conditions. The front steering geometry is goofy, but works great with a sidecar. And you get nice features like a reverse gear, for backing out of parking spots!
Why do I have one? Because I wanted one! I posted a lot more details last week, including details about riding all the way through this last winter. People give you weird looks when you show up somewhere in motorcycle gear when it’s 15F and snowing…
This is, by far, the best motorcycle I’ve ever owned for potting about straight back roads (my current environment) and questionable gravel at 45-50mph (easy to find). It’s great for hauling stuff too - I’ve made non-trivial Home Depot runs with it and confused cashiers with a full shopping cart and motorcycle gear. Plus, it gets more attention than a chromed out custom cruiser.
The Problems
The “tractor seat” on a Ural is supported at the front by a metal strut, and at the rear by a big hunk of triangular rubber. This works unexpectedly well for such an archaic looking system, but mine was starting to get far too soft and bouncy. Worse, it was wobbling side to side a bit, and noticeably down in the rear.
This is the underside of the seat - it bolts across a bushing at the front, and bolts to the rubber in the rear. If the rubber bushing looks like it’s sagging, that’s because it is! There’s no weight on the seat in this photo - you can imagine what it was doing with me on it.
Note the extra holes in front on the mounting plate - if you want to move the seat forward, you can!

I tried to get some pictures of the crack from on top, but the crack is right along the weld and is basically invisible unless you’ve already found it. Here’s what things looked like from the underside. This is, unfortunately, a reasonably common failure.
Welding the Cracks
Fortunately, I live near someone who has a lifetime of experience welding, and is good at quick fixes. Here’s the result of said fixes: One reasonably welded seat support with a side of fried paint!


Will it hold forever? Probably not. Will it hold for quite a few years? I hope so! And with the next upgrade, there should be significantly less stress on it than before.
Doubling Up the Rubber
The other change I made while I was working with my seat support involves replacing the single, worn out rubber support with a pair of brand new ones.
Why a pair? For rider weights much over 180lb (which I am), doubling up offers a stiffer, higher riding seat, and hopefully longer seat support life.
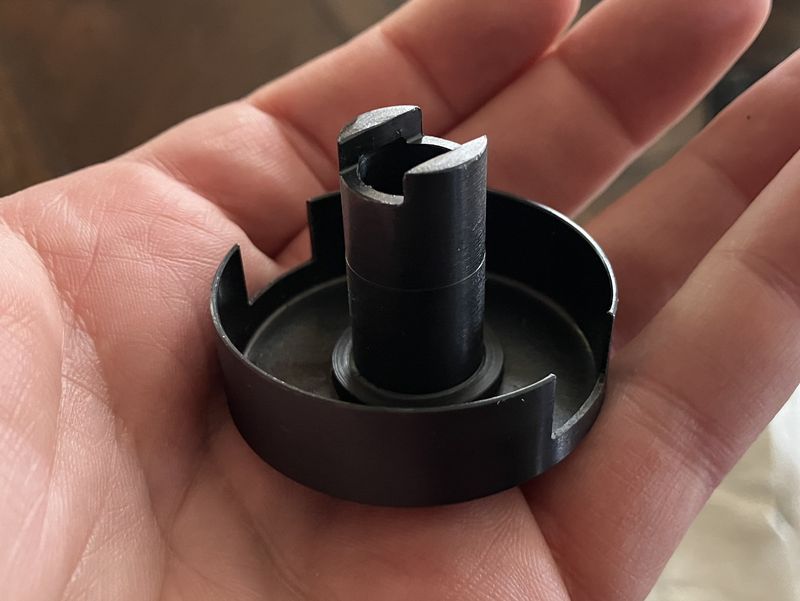
If you’ve not seen one of these lumps of rubber up close, they look something like this. The divots, I assume, are where the flex happens. Flexing rubber eventually wears out, so they’re more or less a wear item on the bike.

On both sides and the bottom, nuts have been molded into the rubber for the mounting bolts.


And for as goofy as it looks, it works surprisingly well. Time to reassemble everything!
Reassembly
“Russian tolerances.” Just keep telling yourself, “Russian tolerances.” Don’t tighten anything until all the bolts are in place, or you’ll find yourself going back and loosening parts to get things lined up.
The two blocks almost fit! The front block runs into the support, but is made of rubber, so it should squish down nicely.

Using a blend of the original hardware and an extra mounting hardware kit (you can tell which is which), the blocks take up the whole length of the mounting slot. Don’t tighten these down yet!

Next, put the side bolts in, loosely.
Then comes the fun part: Getting the front bolt through. It really doesn’t want to line up with the two blocks in place. Get creative and find a way to make things line up, then ram the bolt through.

The alignment isn’t perfect - I really should take a precision sledgehammer and shift things over one of these days. I doubt I could tell the difference from on top, though.

Once all the bolts are in place, go ahead and tighten things up. The only part left is to mount the seat support back to the motorcycle where it goes.
I found that using a pair of vice grips on the nuts made installing the sidecar-side bolts much easier. I could have done it with my fingers, but this bit of tool use made things much quicker - and let me hold the nuts in place while I tightened everything up.

Once everything is back together, it looks a bit like this. There’s a lot more rubber in place, the seat post is nicely welded, and I should probably spray paint that support at some point…

One stiffer tractor seat!

Parts Needed
If you want to do this, you’ll want two seat springs and a hardware kit (you can reuse the bolts from the old spring).
Seat springs are available for $35/ea at UralNE. They also sell the mounting hardware for $12.
However, if you’re willing to wait for overseas shipping, you can get similar seat springs a lot cheaper on eBay. The hardware kit can be found in the local hardware store’s random bolts section.
Either way works!
Are Dual Rubbers Worth it?
If you’re a heavier (>200 lb) rider? Absolutely. The seat is much stiffer and higher, though of course I’m comparing to a worn out single rubber and a cracked post. There’s still enough give for bumps, but I’m not sliding off the back like I was before - the seat is now level and how I expect a seat to be.
I’m hoping that doubling up the rubber bits should keep the front post intact longer, though if I have problems again, I’ll add a doubler plate on the bottom.
Let me know in the comments if this was helpful to you, or if you have any other tips regarding the seat and seat post!
Comments
Comments are handled on my Discourse forum - you'll need to create an account there to post comments.If you've found this post useful, insightful, or informative, why not support me on Ko-fi? And if you'd like to be notified of new posts (I post every two weeks), you can follow my blog via email! Of course, if you like RSS, I support that too.


