
If you have a ThinkPad T420/T420S/T430/T430S laptop, I have great news for you: You can replace the screen with something that doesn’t suck! It’s a bit of moderately deep laptop surgery, but it’s doable!
If you don’t have a ThinkPad of that series, well… you’re not missing out on the screen side. They have one of the worst screens shipped in recent history - and that’s comparing them to an awful lot of the cheap netbooks out there.

The replacement is fairly straightforward - but it does involve diving pretty deep into the laptop, and it does involve a sketchy bit of display translator hardware. So, what’s involved? Keep reading to find out!
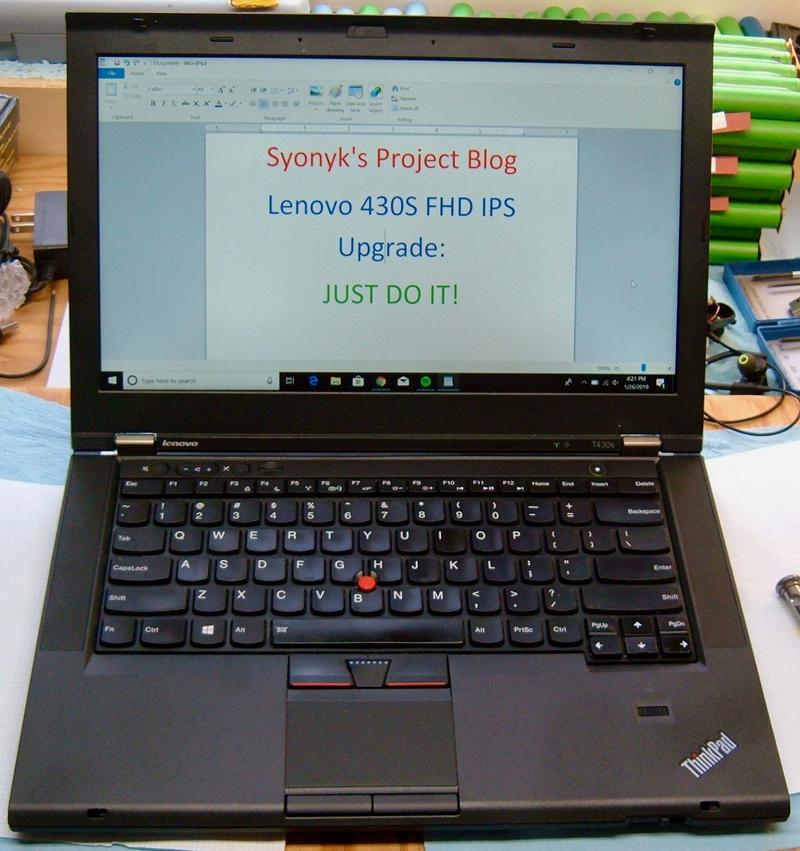
The Lenovo ThinkPad T430S
The T430S, at least, is an Ivy Bridge based laptop, supporting up to 16GB of RAM, and having an easily removable hard drive plus an optical drive (still occasionally useful, though I mostly just use a USB3 external optical drive now). Like most ThinkPads, it’s a rugged tank of a laptop, easy to work on, and there’s an active user community behind it.
Unlike most other laptops, the screen is genuine, Grade A rubbish. It’s a TN display (the kind that changes color as you look at it from different angles), and it’s one of the worst TN displays you’ll ever see in your life - it’s absolute crap. There’s been a lot of interest in replacing it - and, now, in 2019, there’s a pretty much bolt-in solution that solves the problem by letting you put a very nice IPS panel in your T420/T430 series ThinkPad!
The Problem: LVDS vs eDP
The T4{2,3}0{,S} laptops (along with many others) use Low Voltage Differential Signaling (LVDS) to talk to the display. This is an old technology, and is common in laptops for short range, high bandwidth links - say, between the GPU and the LCD. It’s a low voltage system with a quite small signaling voltage (350mV), and while it requires quite a few pairs for high bandwidth, the power consumption is very low, and it’s “good enough” for most lower resolution displays. Like RS485, which I’ve mentioned a few times here, it uses differential signaling - one signal line in a pair goes high, one line goes low. This allows for rejection of common mode interference - by subtracting the signals from each other at the remote end, common interference cancels out and the signal is strengthened.
Embedded DisplayPort (eDP) is a far newer protocol - it’s DisplayPort, for laptop displays. DisplayPort is a packet-based communication protocol, similar in many ways to PCI Express. This is what many external monitors use now, and it’s what modern IPS panels use in most laptops.
The IPS panels one can find of the correct size are eDP. The ThinkPad outputs LVDS. The two are not at all compatible…
The Adapter
Until around 2015, when some people from China built an adapter! This little gizmo takes the LVDS signal on the input, and outputs an eDP signal for using a modern LCD! It’s around $70 as a standalone unit on eBay, and involves either a small microcontroller or FPGA (I couldn’t read the numbers and wasn’t about to dismantle this device) to handle translation. If you can find a kit with an LCD, go for that - it’s likely to be cheaper. Otherwise, pick up one of the recommended LCD models as well (the eBay listings include a list of supported LCDs).
Is this sort of gizmo a good idea to put in your laptop? Well, that’s up to you. An inspection of the device showed no particularly obvious PCB antennas, and nothing wireless-transmitter-looking, though I can’t totally discount the possibility that there’s some sort of interesting capability buried in here. However, it works without any driver support on the host - so if it is malicious, it has no easy way to transmit information out to the internet, and if someone’s close enough to pick up RF emissions, they likely can just look at the screen. If it required host drivers, that would probably have been enough to convince me to not use it, but an inline LVDS to eDP converter is a thing that seems reasonable enough. I’m comfortable with it for a typical home laptop, though I probably wouldn’t put it in a business laptop. Lenovo is a Chinese company at this point, so another Chinese gizmo in the display path just doesn’t increase the risk that much.
If you look at the traces under the tape, they’re nicely rounded - I always like seeing that. Hard corners in traces can cause signal reflection (an issue at high frequencies) - the corner is wider than the rest of the trace, which impacts the impedence, which causes reflections, and high frequency AC is weird about stuff like that. The rounded traces prevent that from being a problem. I’m slightly surprised I don’t see “equal length” serpentine traces, but either it doesn’t matter for this difference, or the adapter chip handles the skew internally.

Installing the Panel and Adapter
I’m going to assume you’re “mostly competent” inside a laptop here - if you need really detailed teardown instructions, this project might be a bit over your head (or you can find tutorials on YouTube). Lenovo laptops are genuinely easy to pull apart, but they’re still complex electronic devices with an awful lot of screws.
I’ve worked on many, many laptops before, and I’ve talked about that a bit more in the past. A modern Lenovo is a genuine joy to work on - nothing too hidden, and a reasonable number of screws that mostly match each other (instead of, say, nearly 100 screws of 17 or 25 different varieties, like some years of Powerbook).
Before you dive in, pull the power, pull the battery, and then hold the power switch for a few seconds. This drains the power completely from the board, and that’s important - if you have stuff “sort of powered” or “fully powered” while doing this swap, you’ll probably fry your inverter fuse, which is a pain to replace. Don’t do that.
Remove the assorted screws on the underside, pop the drives out, etc. There are some good guides if you’re not familiar with this series of laptop - elsewhere. But just remove everything, keeping track of where it came from. Any time I’m working on a laptop, I have a sheet of paper with diagrams of the various layers - screws are placed in their proper locations, so I can get every screw back where it goes. It’s not a huge deal on something like a Thinkpad, but with older Apple hardware, if you didn’t keep close track, you’d end up with a 4.5mm long screw bottoming out in a 4mm hole, and a 4mm long screw not fully threaded into a hole designed for the 4.5mm screw, and… well, if you’ve had the joy of working on that stuff, you know what I’m talking about. If you don’t, count yourself lucky.

If you need a reference for how the wireless antenna cables hook up, here you go. Even before I was blogging about repairs, I’d often take pictures of tricky parts of laptop repairs as reference photos. I’ve got photos of all sorts of weird stuff in my photo archives… The main antenna is the grey wire, the aux antenna is the black wire. There’s no need to remove the RAM or wireless card, but you’ll need to pull the cables out. No, you can’t have my MAC address…

The keyboard comes out by sliding it. You pop the surround off from around the power/volume/etc switches (start from the right), then slide the keyboard one way or the other (I think you slide it up, but could be down - it’s obvious if you play with it), and the whole thing comes out. You’ll see the mainboard on the left, the drive cage for the optical drive on the right, and a bunch of cables that have to come out. I like that Lenovo leaves long enough cables - the keyboard cable is long enough to slide the keyboard fully down before having to release it, and some other laptops aren’t nearly so nice.

Another reference photo for your reassembly needs - you’ll be adding a cable or two and an adapter in here, but this is how things are lined up stock. I’ve had the laptop apart a while ago to replace the fan, so if the tape isn’t perfectly flat, that’s why.

The little square bits of adhesive on the back cover some extra screws for the hinges. The screen has to come off for the repair, so pop those off and pull the screws. A small flathead screwdriver works perfectly for popping these off - just be careful to set them adhesive side up. They’re quite sticky, and will happily bond to a sheet of paper if you put them down wrong.
You might be able to find replacement stickers on eBay, but you shouldn’t need to (and those are seriously expensive - if the stickers get messed up, just rock the screwy industrial look).

The top case has a few screws you need to remove from the top (mostly around the drive cage), but otherwise is held on with a bunch of clips around the edge. A long fingernail works well to pop the case free. I’m actually accomplishing two things with this upgrade - the buttons below the touchpad on this laptop have long been dead (water or tea, I don’t recall which), so I’m taking the opportunity to replace the top case while I’m in here. It’s only barely more work than just replacing the screen (you have to move the fingerprint reader over to the new top case), and it makes the laptop somewhat nicer to use.
While you’re in a laptop, be nice. Clean out the cooling fan (a bit of duster spray, run from the outside, will free up a lot of dust, so do this outside), tighten the screws you have access to but haven’t removed, etc. Just clean it up. It makes a difference.

You know what else I like? Modular power jack carriers. ThinkPads generally have them - here, you can see that the power jack is on a little daughterboard that can be replaced without having to replace the whole mainboard. This is one of the major differences between a cheap “consumer grade” laptop and a “business grade” laptop - more connectors, so you can replace things smaller than “the whole board.” Power jacks get beat up. Being able to replace a cheap power jack board instead of a whole laptop mainboard saves money in the long term - at least, if you have someone willing to do that work.
If not, well, someone like me will buy the laptop with a busted power jack cheaply, repair it, and turn a tidy profit in the arrangement.

If you’re replacing the top case, swap the fingerprint reader over to the new case. If not, don’t worry about it.
This fingerprint reader is apparently really common on ThinkPads.

Replacing the LCD
Once you have all the wires removed from the top case, you’ll need to replace the actual LCD - which, of course, is the whole point of this particular project.
There are two screw-hiding stickers on the screen, in the lower right and lower left corners, to the outside of the hinges. Pop them free like you did the hinge screw stickers, and remove the screws. These are the only two screws on the frame - the rest is snaps and clips.

A bit of work with a fingernail, a guitar pick, or another appropriate tool will pop the clips holding the screen surround on. Just pick a point and work around. The bottom (between the hinges) seems to be easiest if you unhook it last and it’s easiest to get that connected properly if you start with it when reassembling the screen. Just my advice.

The old screen comes out easily enough with 4 screws. Before you put the replacement panel in, you’ll want to hook up the eDP connector - it’s on the backside. This comes from the adapter board, and has a metal pull ring to remove it. Make sure it’s seated - it takes a bit of force to seat it fully. If it hasn’t slid a few mm, it’s not seated - and, of course, nothing will work. Flip the pull ring around the top and it helps keep everything from wiggling apart. Nicely designed!

The new screen bolts in as a direct replacement to the old one - which is why these kits are nice. You don’t have to do any modifications to the screen or case! Again, while you’re in here, give the other screws in the display bezel a quick twist. Some of the webcam screws had worked a bit loose over the past few years - you may as well tighten them while you have things open!
Start reassembling things. The adapter board sits on top of the metal framework that holds the processor heatsink in place. A short cable goes to the LVDS port on the mainboard, and the flex cable snakes around to the display.

Before getting too far into reassembly, it would be a good idea to test things. I always test function at the earliest possible stage of reassembly - screen not screwed in, bezel not on, etc. And, it works!
You may notice in this picture that there’s a protective plastic over the screen. It would be quite wise to remove this before putting the bezel back on. If you forget, you’ll be taking the bezel off again, and the snaps on it aren’t the most robust things I’ve ever met.

Put the rest of the laptop back together, and you’re done!
The Results
The initial result was a bit of panic - Windows would display the boot screen, and then a blank screen. It took a while (and a restart or two) for the OS to figure out that things had changed from the really funky 1600x900 resolution to a far more reasonable 1920x1080 resolution. I was midway through trying to figure out Safe Mode on Windows 10 when the machine worked out the details - and then set the zoom factor to 150%, so everything was gigantic. Fix that, and it went back to looking reasonable.
I cannot describe in words (or picture) just how much better the new display is. You may see ads showing a washed out display compared to a vivid display when looking at it from an angle, and they’re right on. If anything, they understate the difference. A modern IPS panel is so much better than the stock TN panel. It amazes me to see the colors not shifting if I walk past the laptop now - rather jarring, really, when used to the “Oooh, what color is it botching now?” game.
Seriously. Worth the money. Do it.

Plus, you’ll be able to casually mention to other users of this generation laptop, “Oh, yeah, that screen is awful… I replaced mine, it’s way better now!” I love how easy to work on these are.
A final note this week: since Google+ is going away very soon for most people, if you’re a regular reader from Google+, I’d suggest subscribing to the email notification for this blog - it’s over in the right column, near the top. I don’t have any other Social Medias I’ll be posting on (previous posts detail why), so… either check in every two weeks, or subscribe to the email. It’s just notifications when a new post goes up - not spammy at all.
Happy Upgrading!
Now, would you like to find out how to fix the awful Bluetooth range?
Comments
Comments are handled on my Discourse forum - you'll need to create an account there to post comments.If you've found this post useful, insightful, or informative, why not support me on Ko-fi? And if you'd like to be notified of new posts (I post every two weeks), you can follow my blog via email! Of course, if you like RSS, I support that too.


