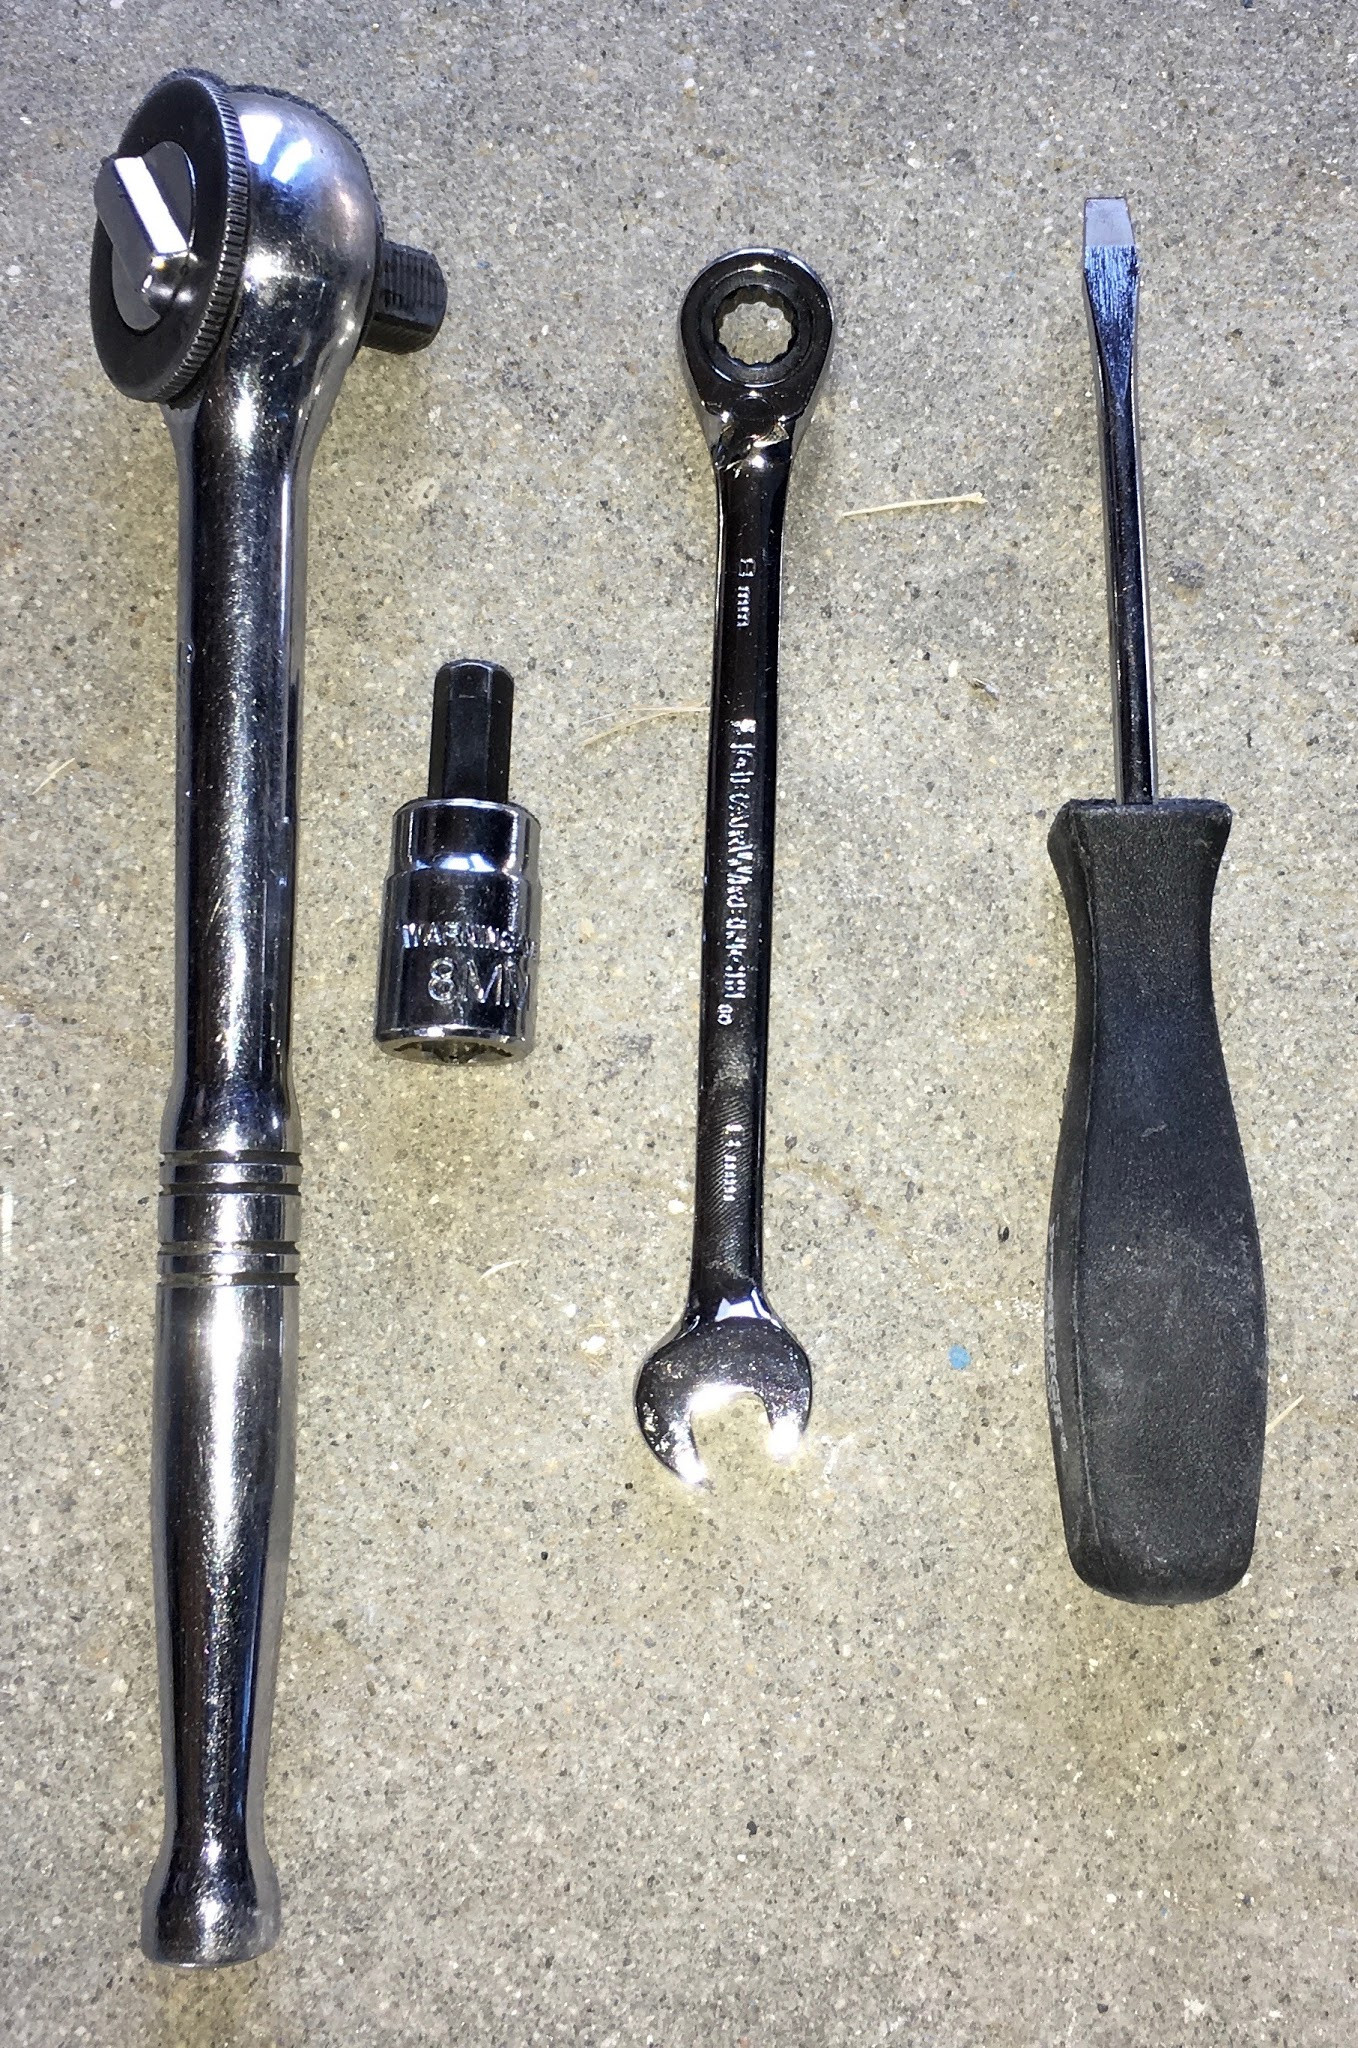
Things needed for a 2014/2015/2016 SkyActiv Mazda 3 oil change: 5 quarts 0W-20, 6 quarts if you’ve got the 2.5L motor and are a “top of dipstick” kind of person. A Wix 57002 filter. An 8mm wrench or socket, an 8mm hex driver (or Allen wrench), and a medium flathead screwdriver.
Read on for what the oil change process involves. But that’s probably what you wanted to know, isn’t it?

Why am I doing a writeup on a 2015 Mazda 3 oil and filter change on a blog focused on electric bikes, solar, and small electronics? Because I hate Tap-A-Talk full screen annoyances and car forum mobile themes, that’s why! It’s rather off in the weeds for my blog, but it took a bunch of searching and a phone call to the dealership (including waiting on hold) to find this information when I went to pick up oil for my car without the actual car. Hopefully this remains helpful for people going forward.
Fluid Capacities and Specifications
It’s a new Mazda. These quantities get you about halfway up the dipstick - 5qt on the 2.5 with oil filter replacement isn’t top of the dipstick, so buy accordingly.
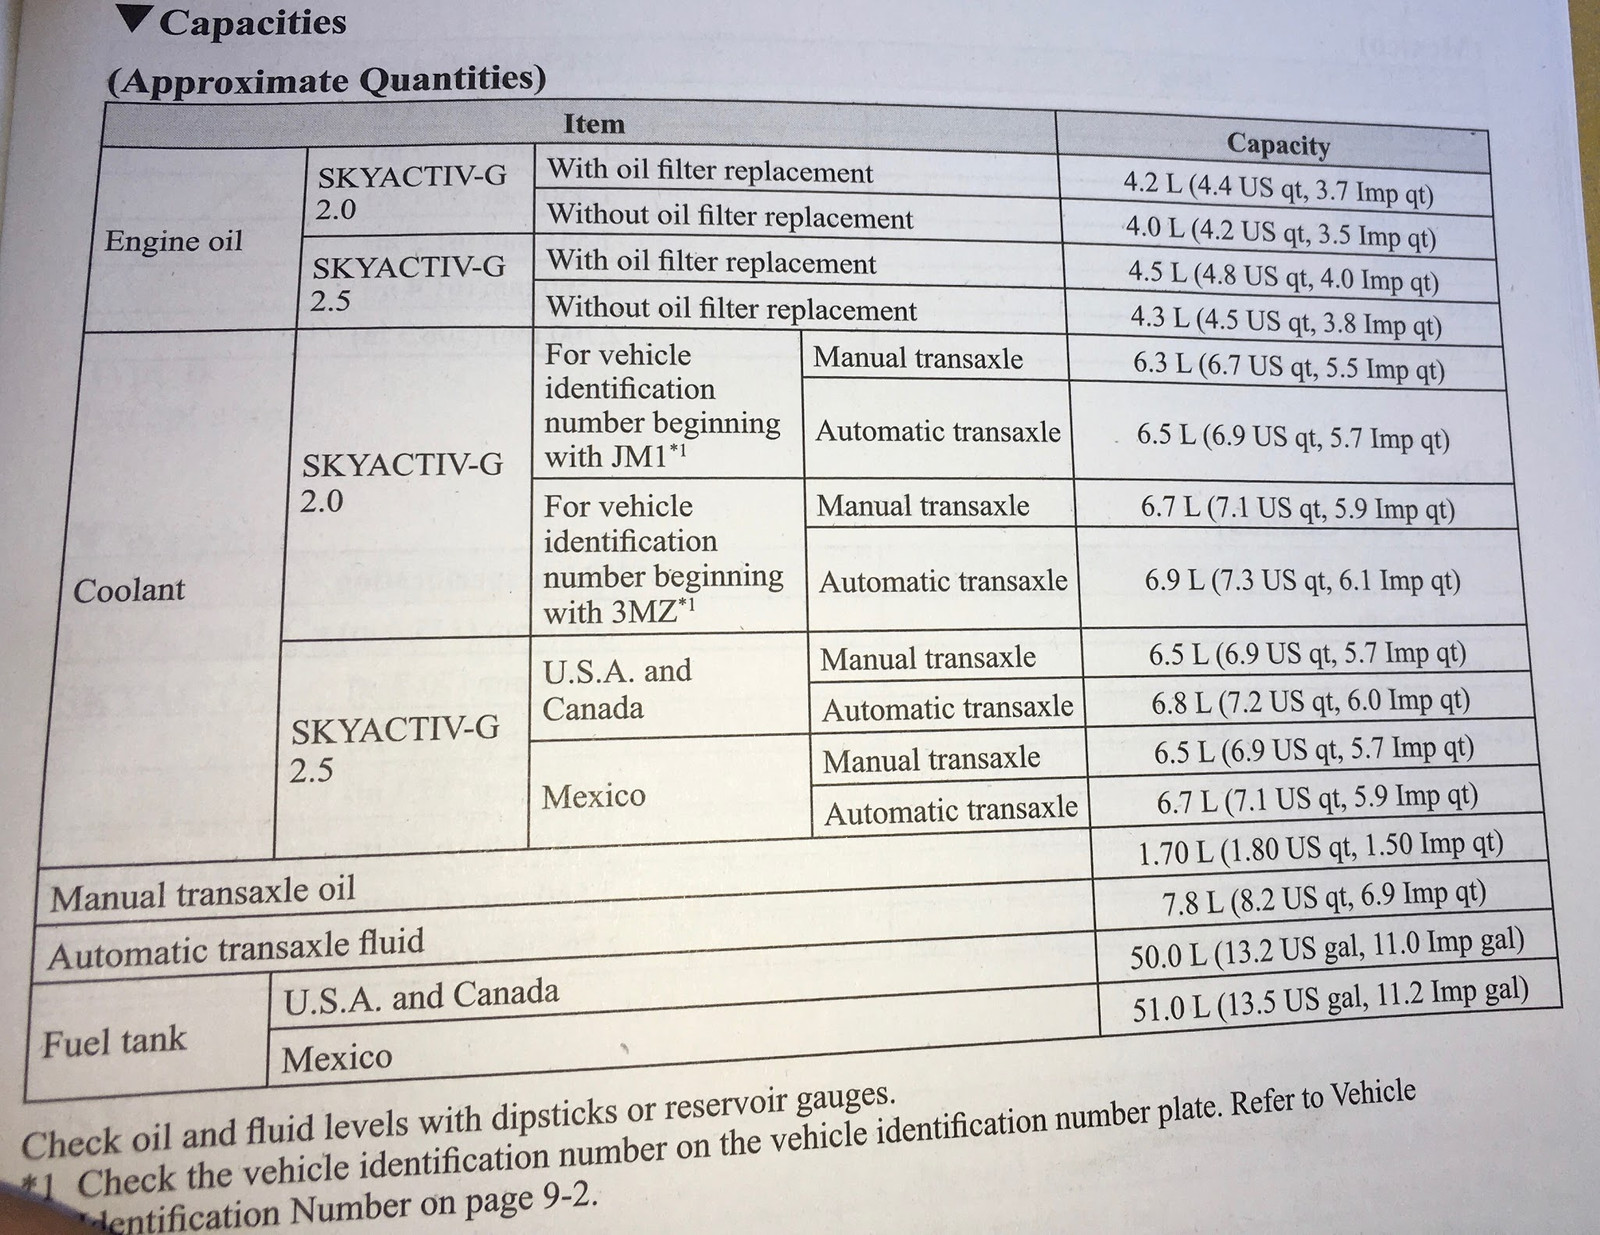
A quick summary of oil capacities:
SkyActiv-G 2.0, with oil filter: 4.2L, 4.4 US qt, 3.7 Imp qt.
SkyActiv-G 2.0, without oil filter: 4.0L, 4.2 US qt, 3.5 Imp qt.
SkyActiv-G 2.5, with oil filter: 4.5L, 4.8 US qt, 4.0 Imp qt.
SkyActiv-G 2.5, without oil filter: 4.2L, 4.5 US qt, 3.8 Imp qt.
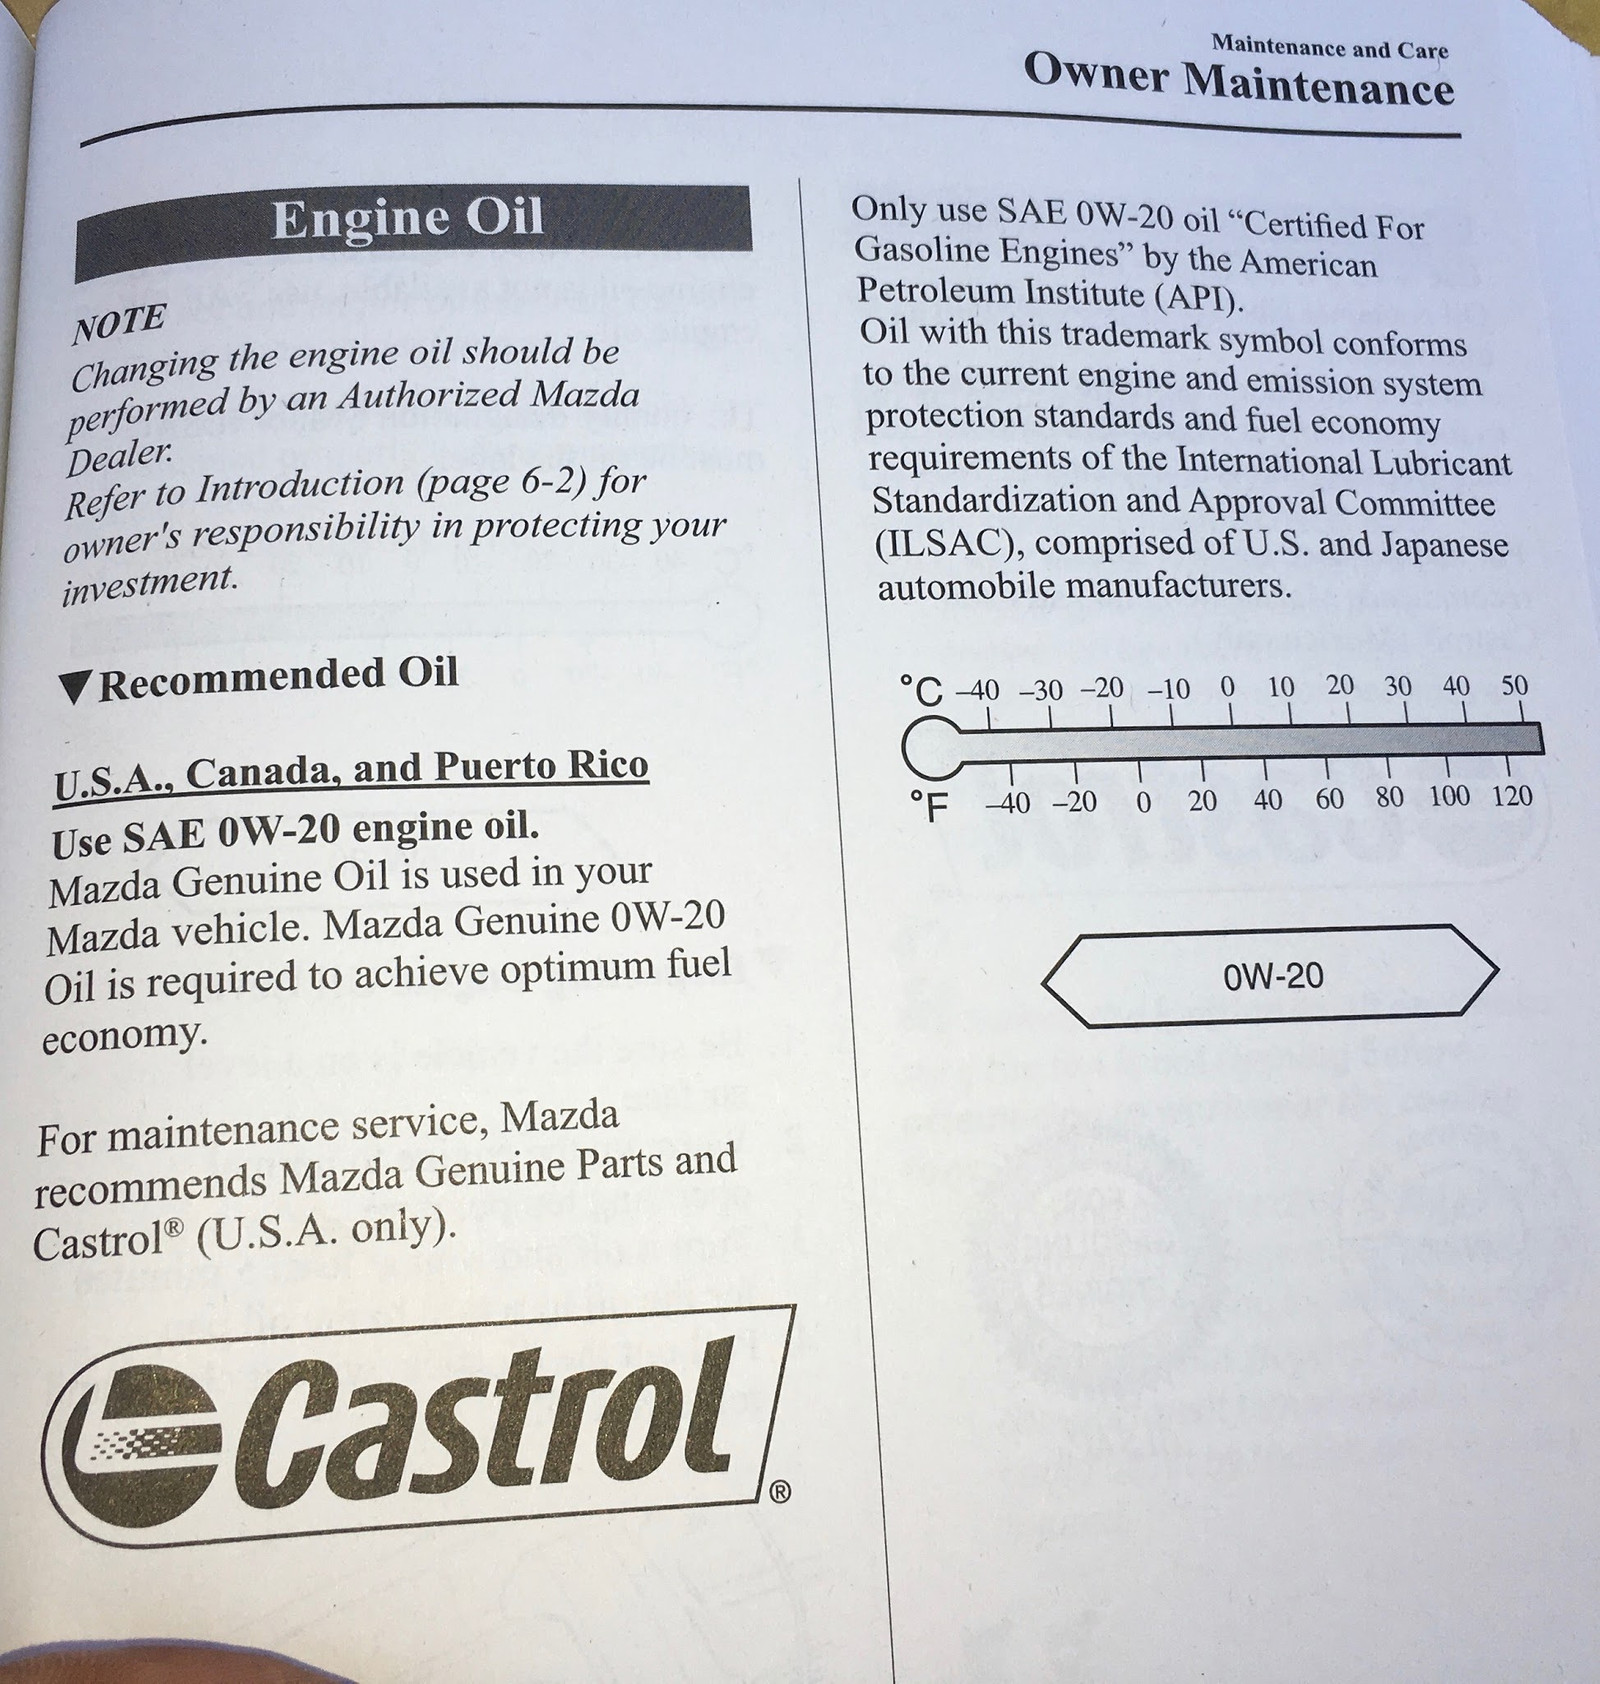
And, as far as oil, 0W-20. Period. For all temperatures.

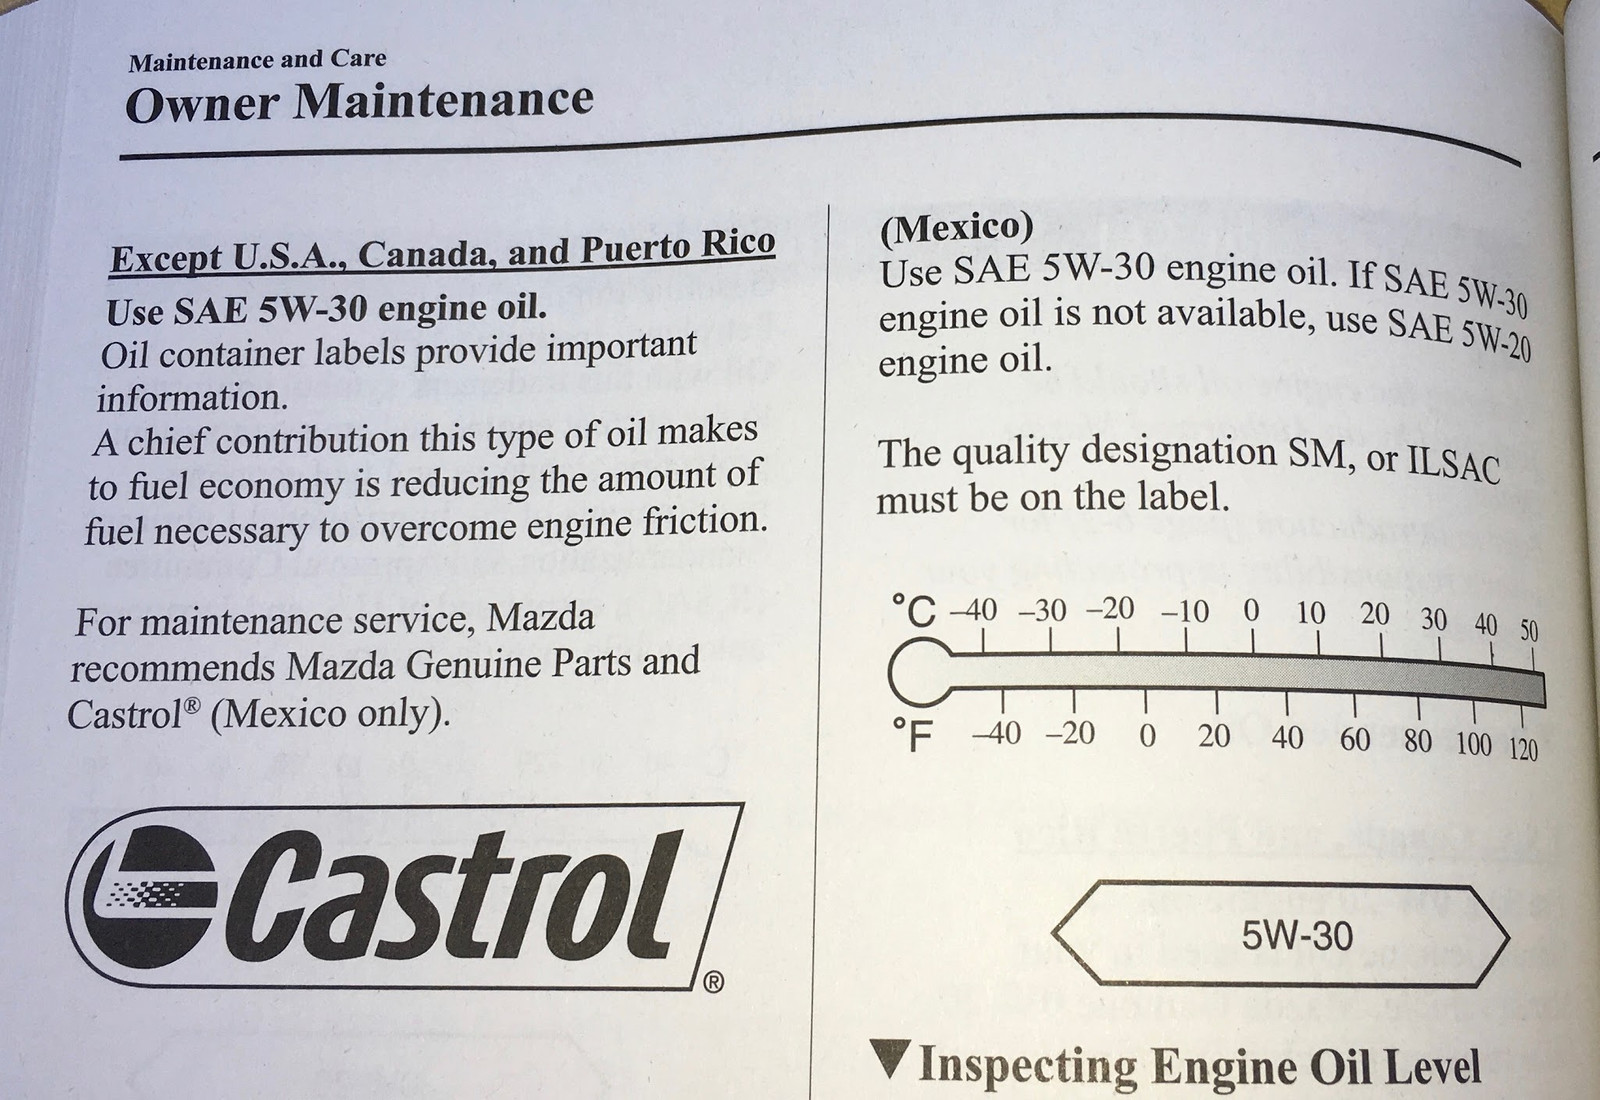
Unless you live somewhere that isn’t the United States, Canada, or Puerto Rico. Then use 5W-30.
Tools Needed
In addition to a jack and two jackstands, you’ll need an 8mm wrench, an 8mm hex driver (an Allen wrench probably isn’t long enough for the torque needed), and a small flathead screwdriver.
Removing the Aero Cover
The first step in changing the oil is to drain the oil - which, for the Mazda 3, requires getting to the oil drain.
You’ll need to jack the front of the car up. You might be able to get away with just lifting the passenger side, but I lifted both sides and put them on jackstands.
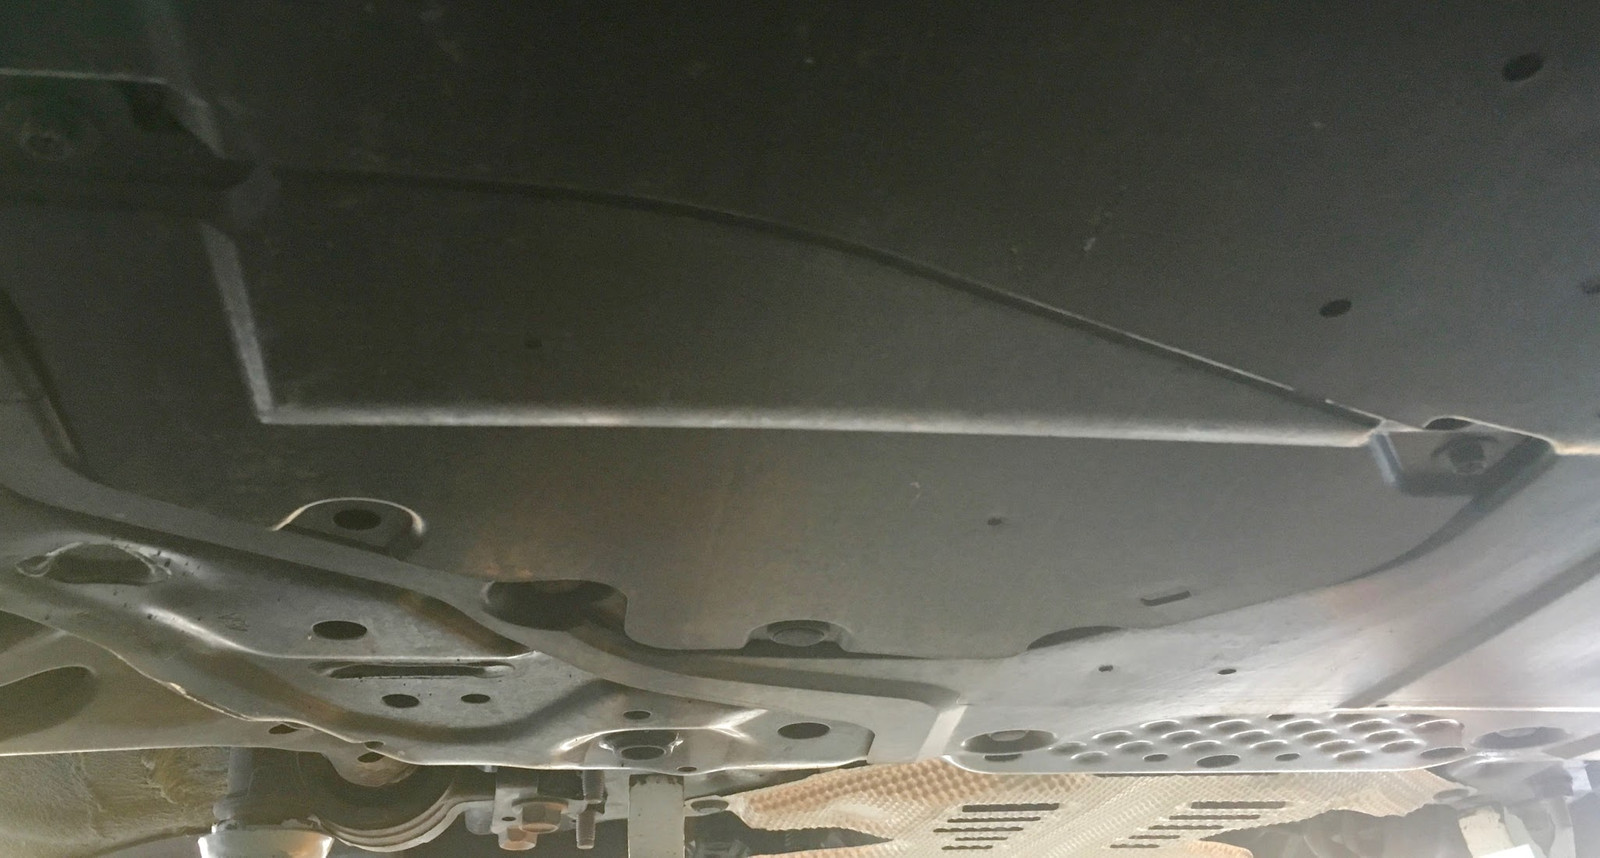
The oil drain cover is on the right side of the car, towards the rear of the engine aero shield. It looks like this. The right cover has two 8mm bolts in the front, and a single Mazda Push Clip (no idea what they’re actually called, but it’s the same thing Mazda has been using for decades) towards the rear.
Ignore the other access ports closer to the front of the car. They’re not for oil.
The Mazda Push Clip
It’s worth going into a bit of detail about what this Mazda Push Clip is, how to get it out, and how to avoid shattering it into a million pieces.
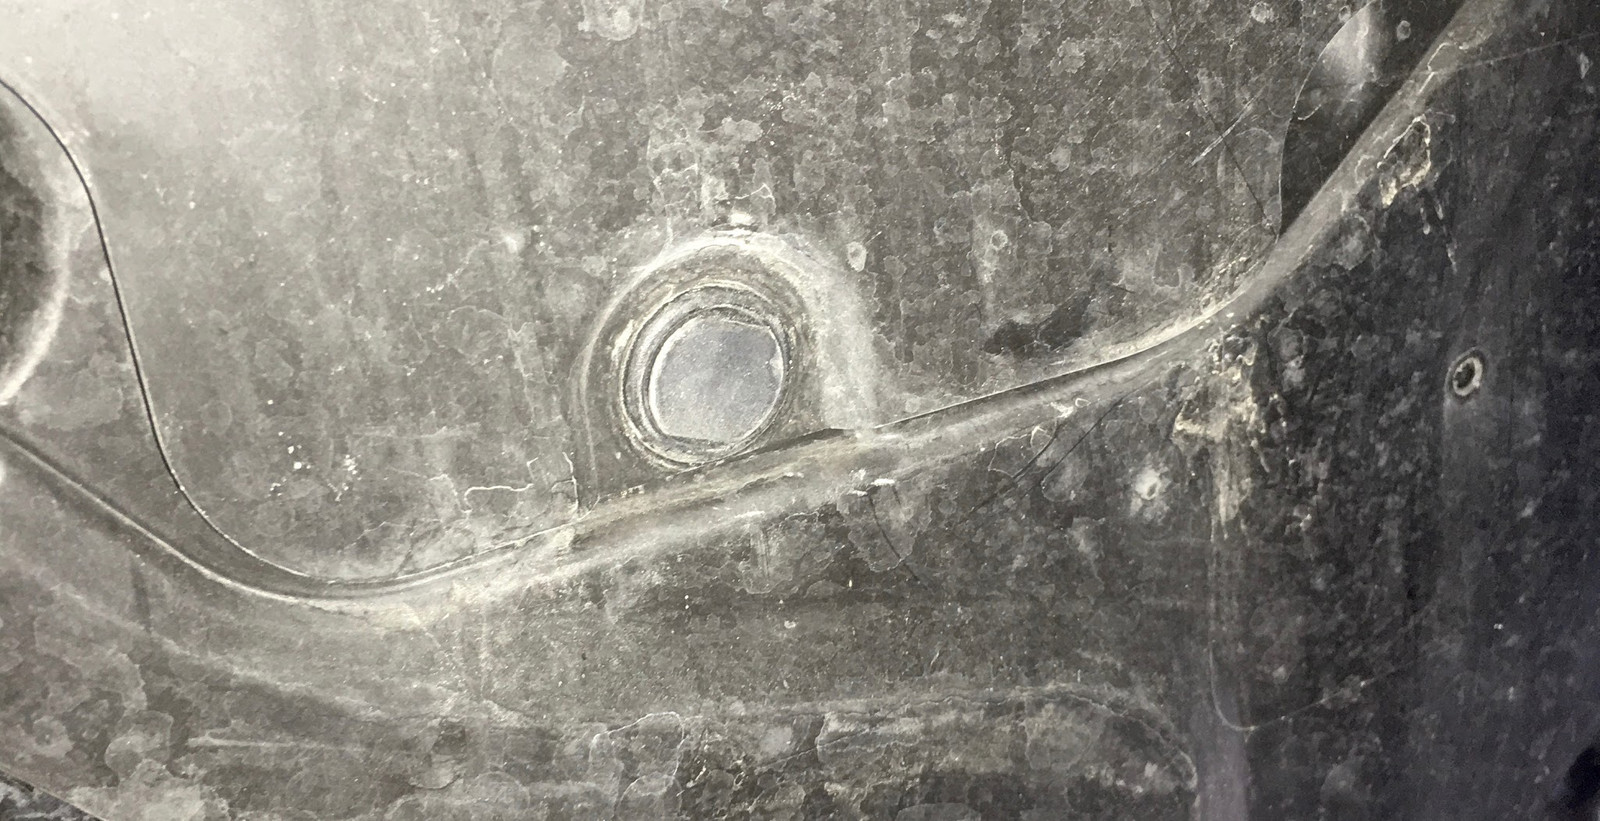
This is the clip, installed, from the bottom.
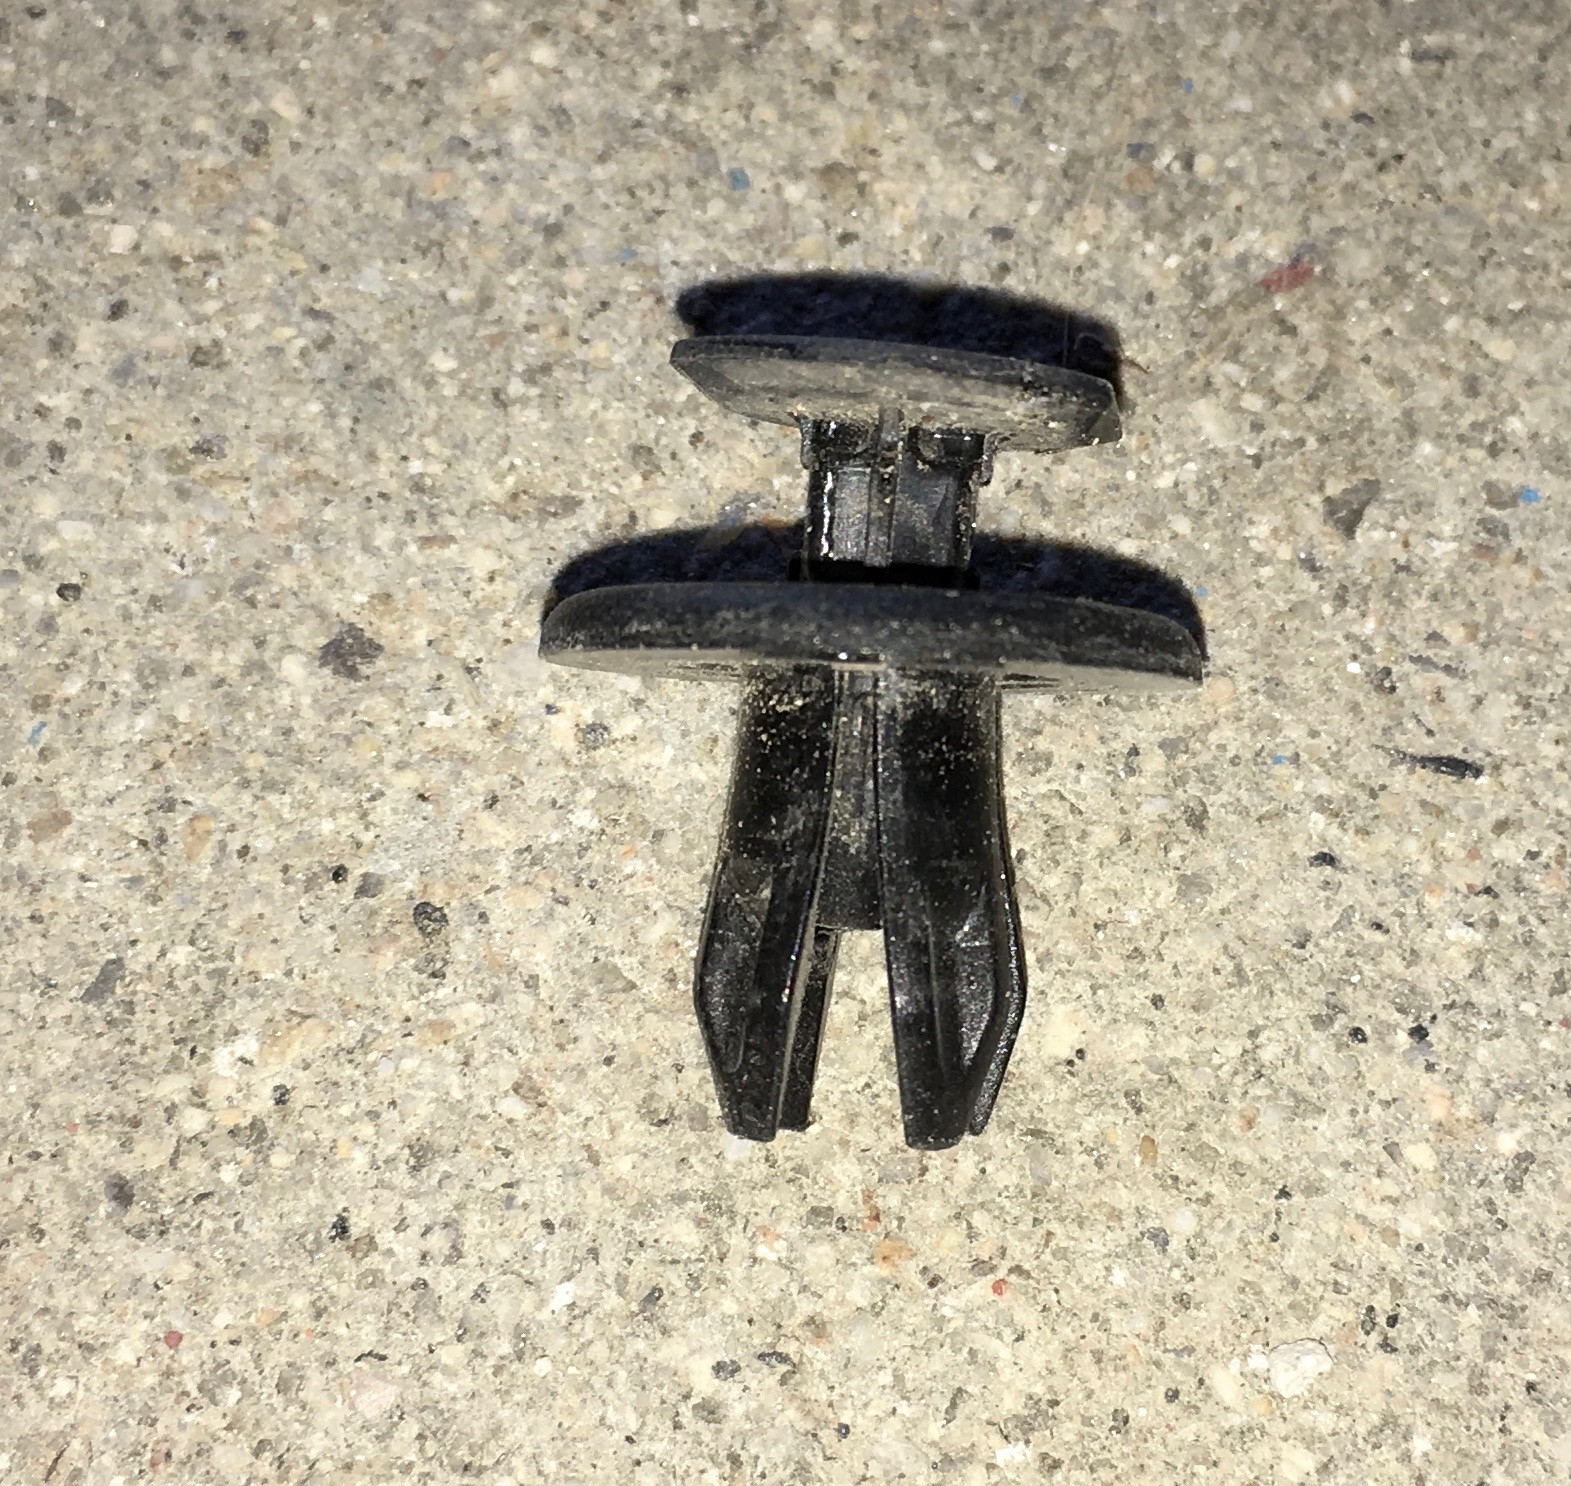
And this is the clip, removed from the car and open.
To remove the clip, you have to pull the stem out. This is most easily done with a flat head screwdriver, a warm clip, and patience. It’s not bad now - but in 20 years, these clips will shatter if you look at them wrong.
There’s no good way to deal with them in the winter either, other than to let them warm up. I’d avoid working with them below about 40F, if at all possible.
The Drain Plug
With the access panel out of the way, it’s time for the drain plug. Which is an 8mm hex head. Not a standard bolt. Why? No clue!
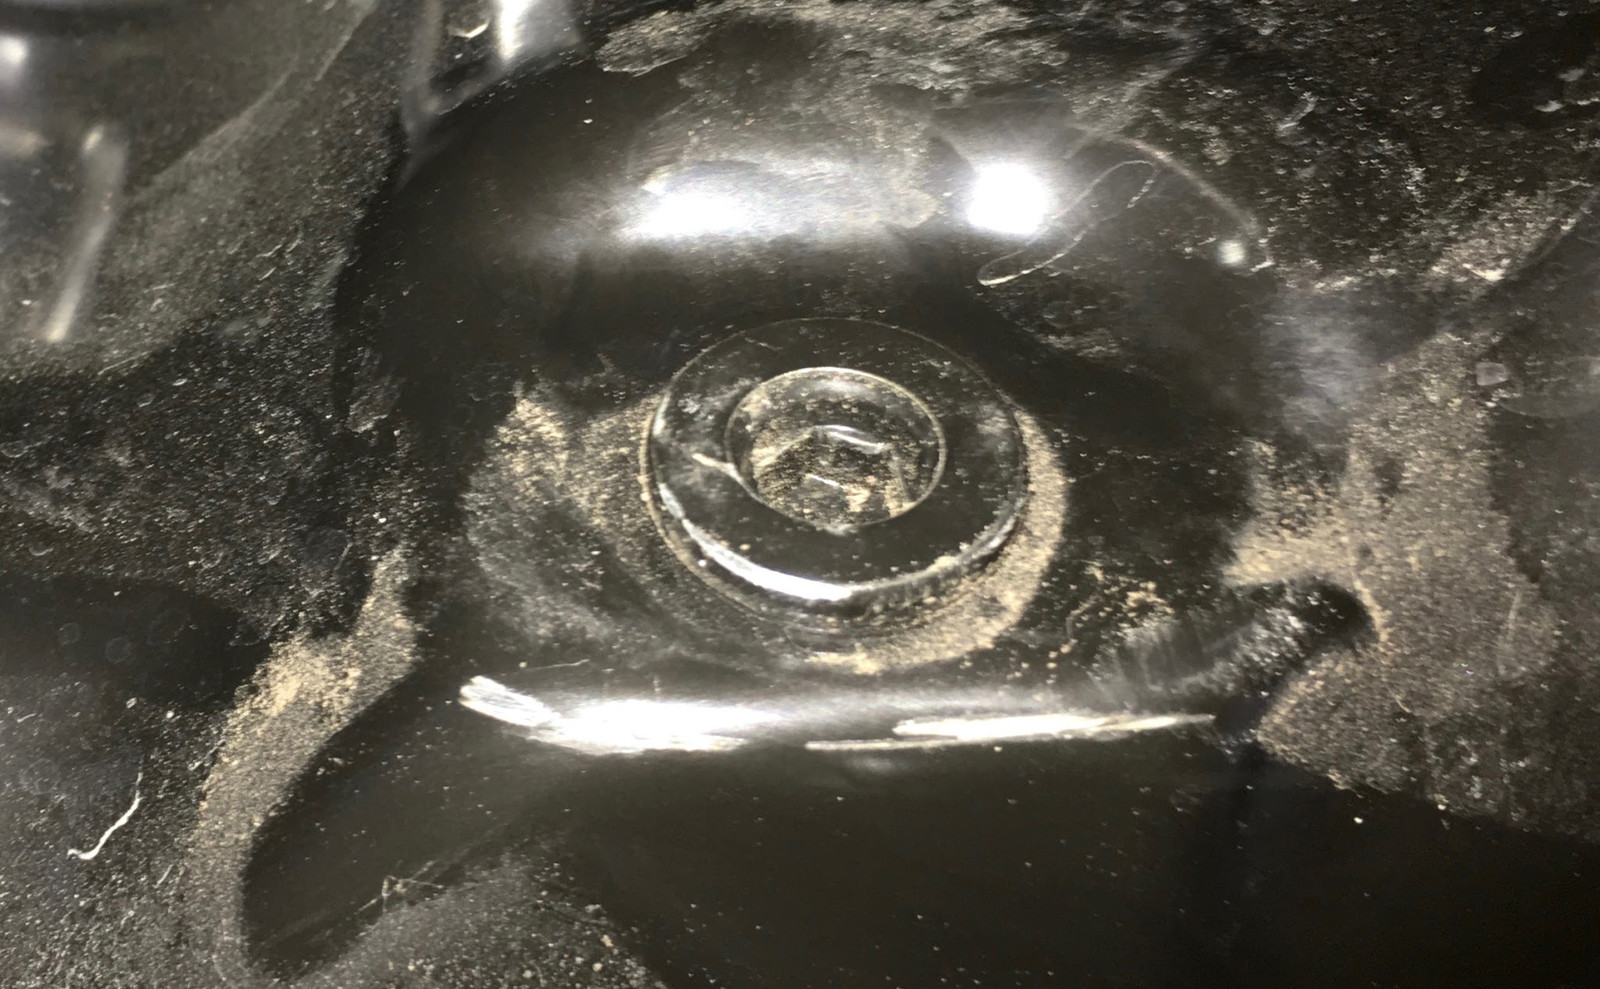
You may be able to use an Allen wrench, but it’s unlikely - someone probably used a 1/2” impact driver to put the thing on, in violation of all the torque specs on the planet.
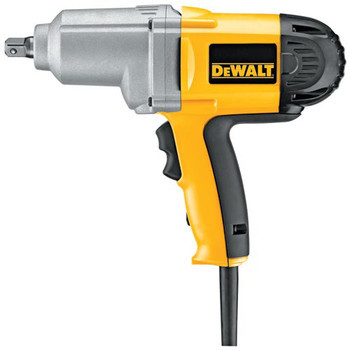
In any case, this is what it looks like if you need a reference.
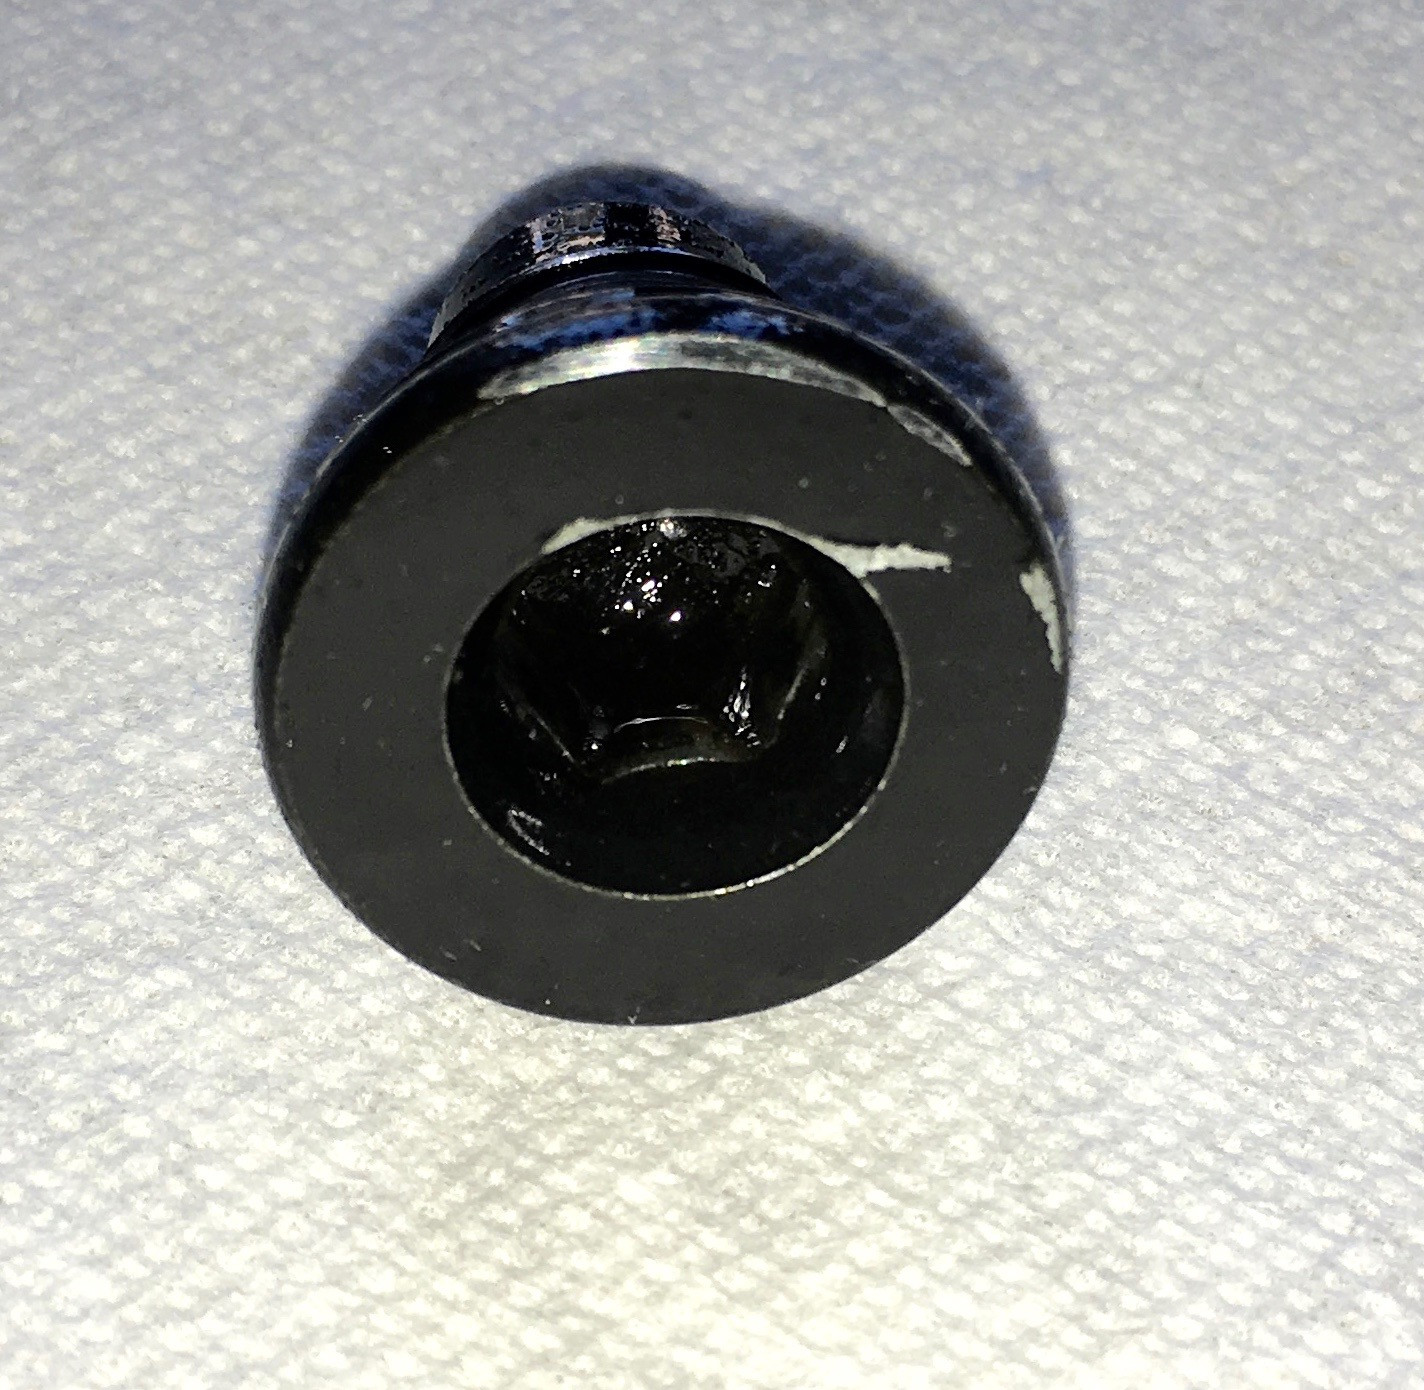
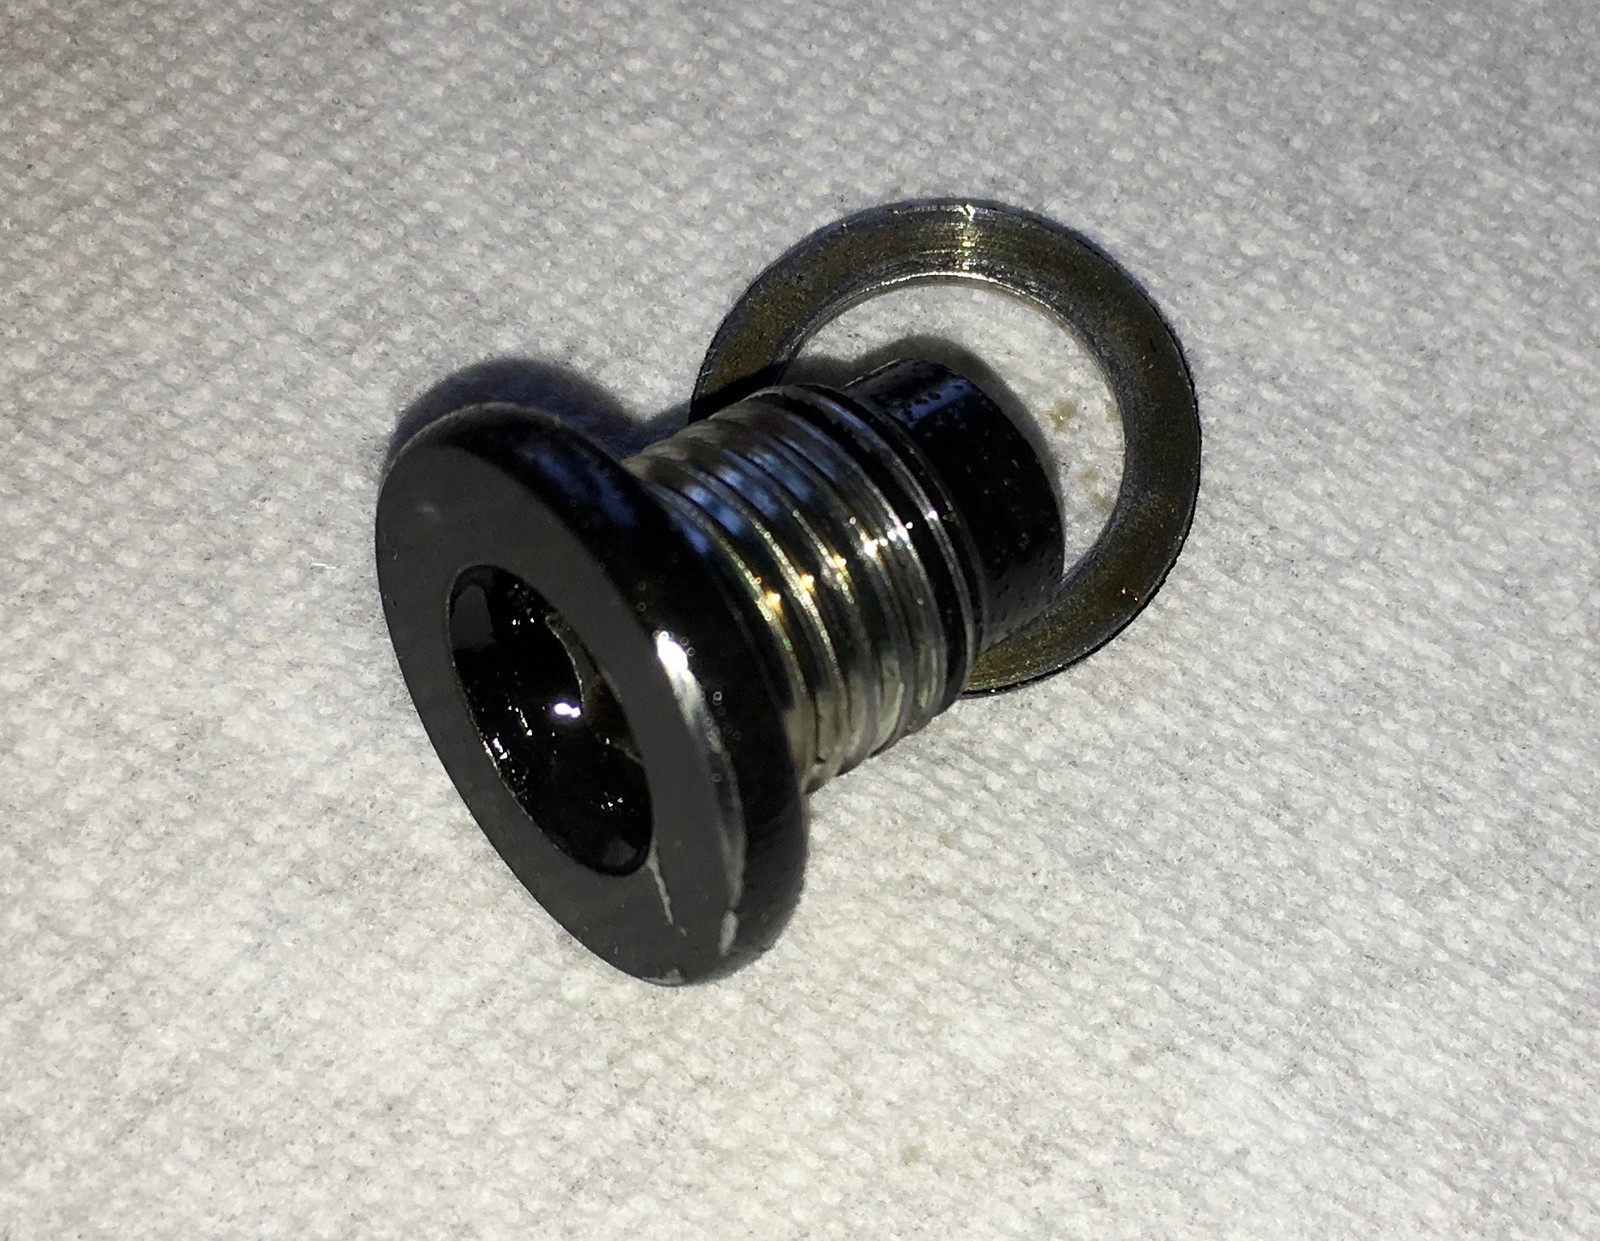
Double check that the crush washer came off with the drain plug! If not, go find it.
It’s likely to be stuck against the head rather tightly, and look like it’s part of the bolt. Make sure it’s there, otherwise you’ll have an oil leak on your hands, and won’t notice it until you’ve filled your aero cover and made a huge mess.
I’m obligated to inform you that you should replace the crush washer every time you replace the drain plug. I don’t know anyone who actually does that, myself included, but you should.
One nice perk of the drain plug is that it’s likely to stay on the hex driver when it comes free - so, if you do it right, less fishing around in the drain pan for a drain plug in a bath of hot oil.
Interestingly, what looks like a magnet on the end of the plug doesn’t appear to be magnetic at all.
Now is a good time to eliminate your problems with crush washers and hex wrenches for the rest of the life of your car.
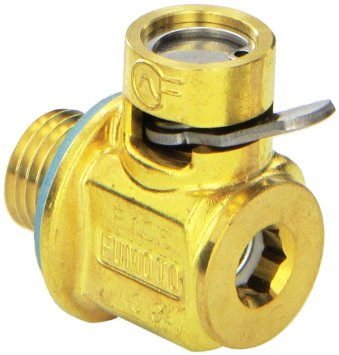
If you install a Fumoto F-106 (easily found on eBay) valve, you never need to mess with a drain plug again! They’re a neat little valve that pops open to drain the oil - install once, tighten, and you’re set for life. They’re all sorts of awesome, and if you do your own oil changes, they’re totally worth the cost.
Oil Filter
The filter is not my favorite configuration (sideways with nothing under it), but it’s close - vertical with nothing under it. Loosen it with your hand or a filter wrench, wait for it to drain a bunch, then take it off. It’s a cute little thing.
You can do the filter and the main oil drain at the same time. A normal size drain pan will catch both.
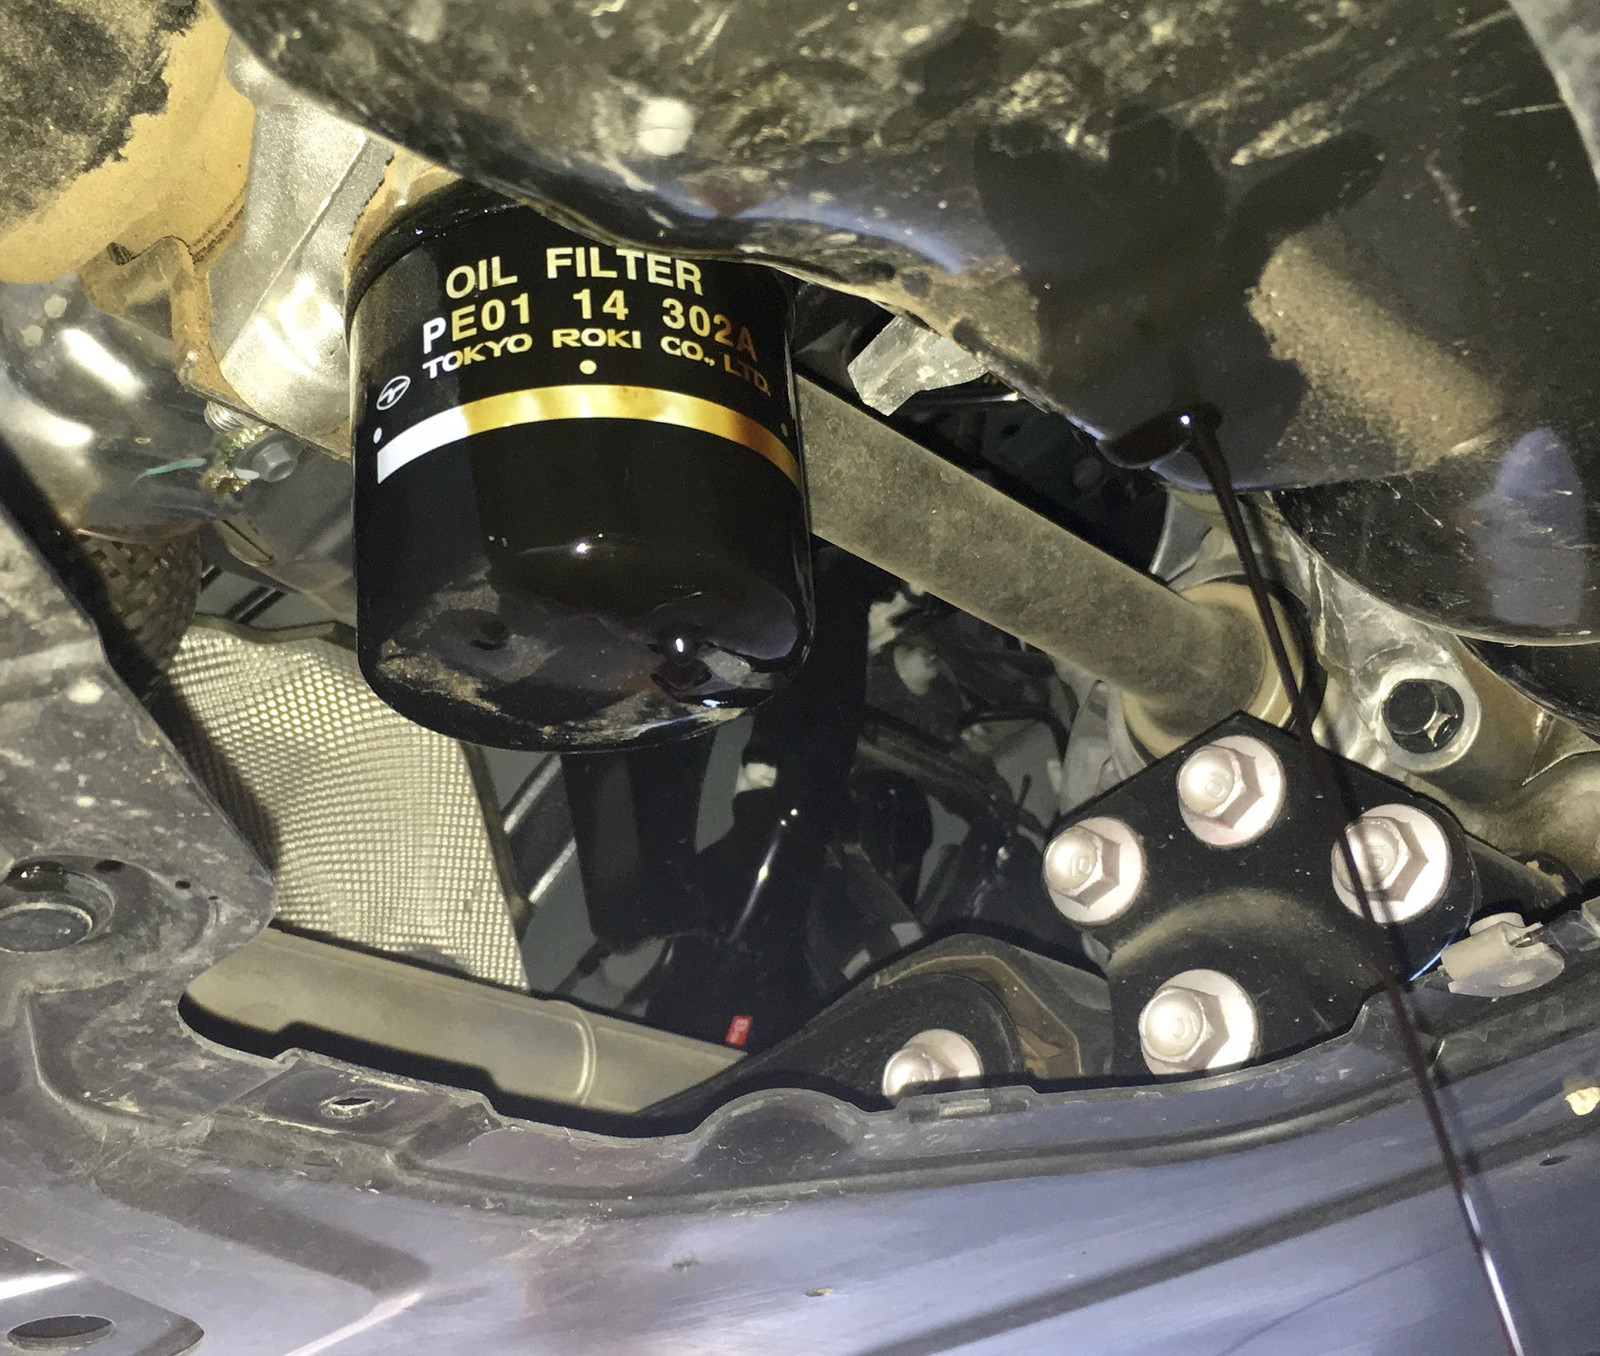
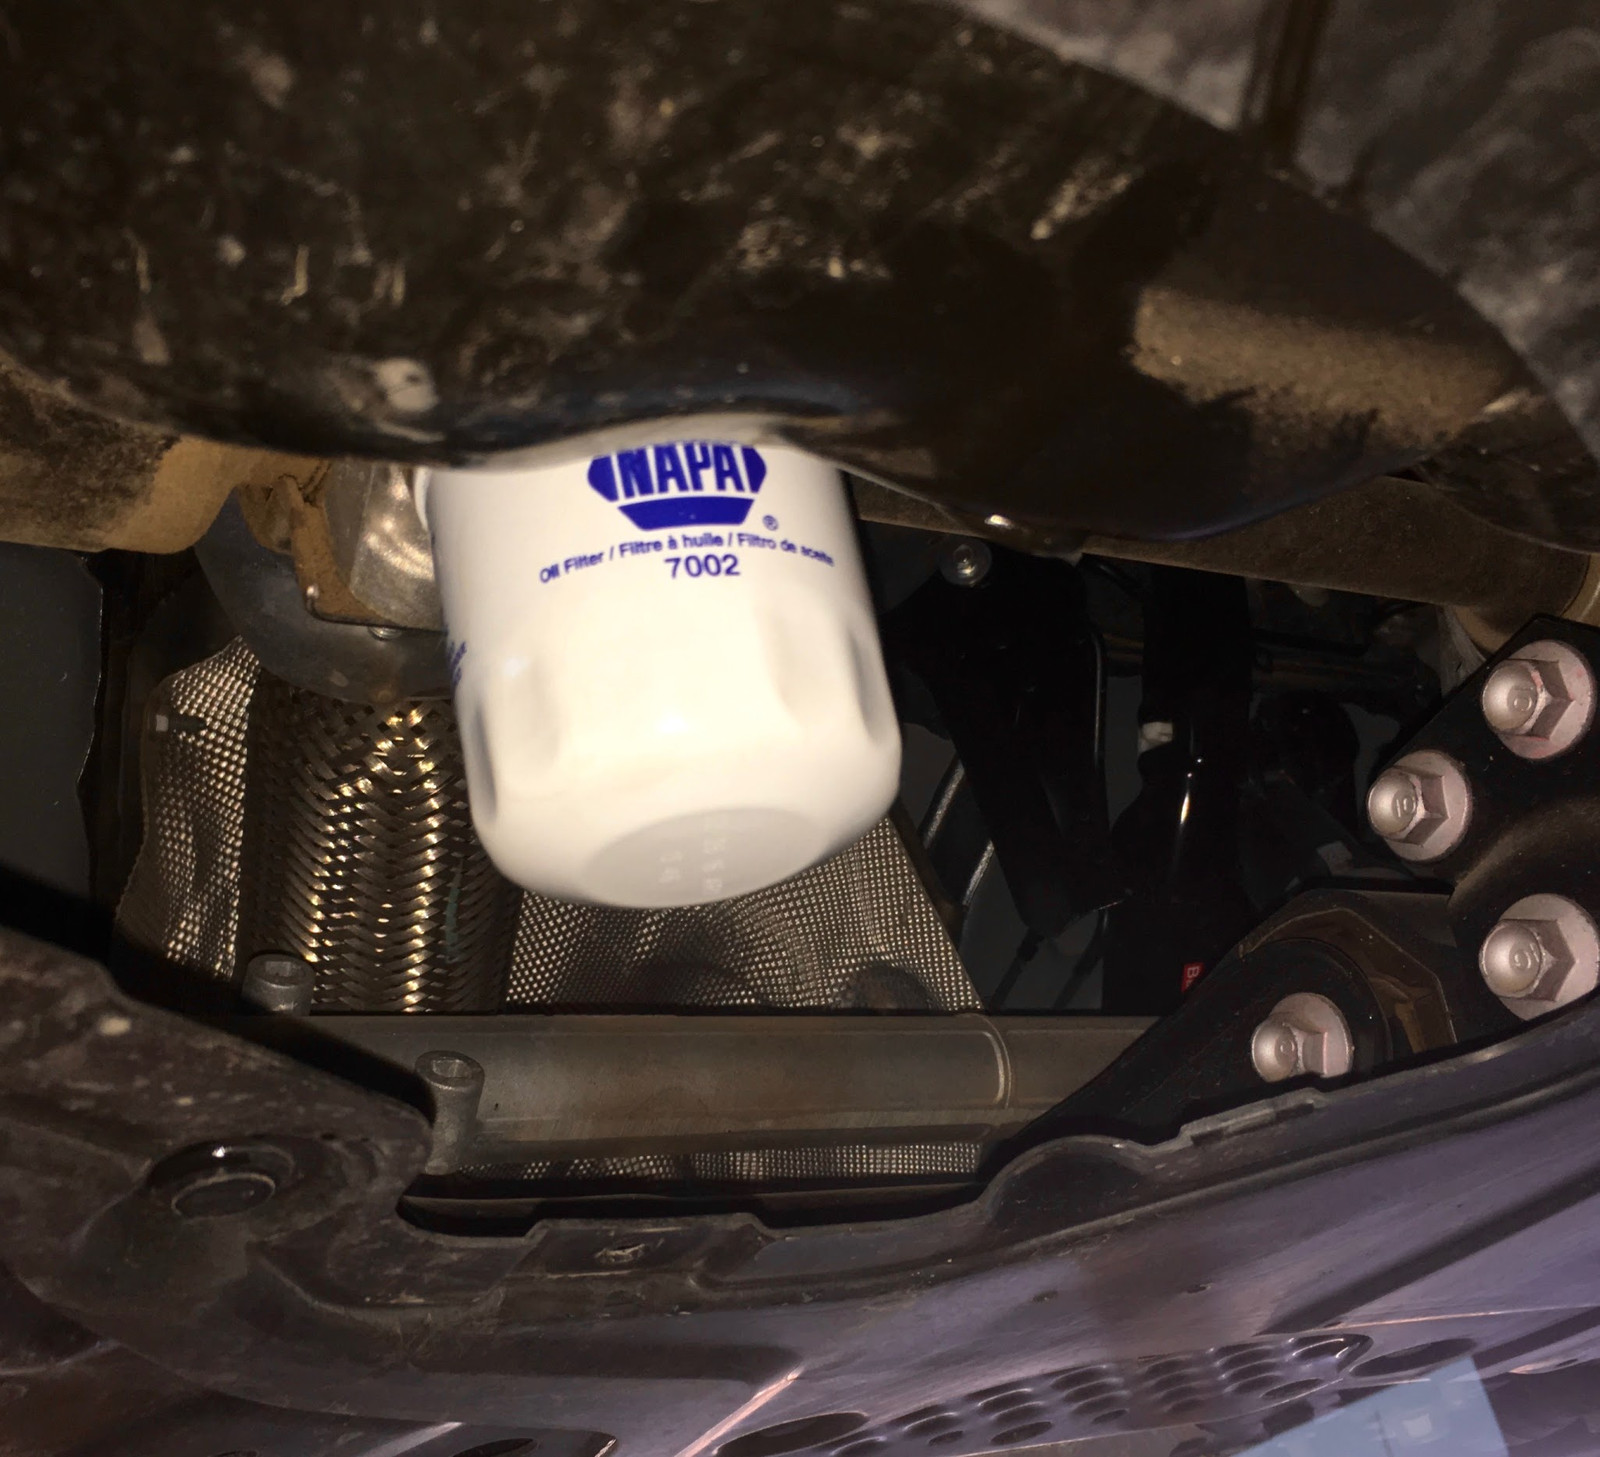
The replacement oil filter is, sadly, small and cute. This is a good reason to buy a high end filter - there’s simply not that much space for filter media in there. I’m a fan of Wix (or, identically, NAPA Gold).
Before you put the new filter on, make sure the old filter has the O-ring gasket around the outside. If it doesn’t, go pull it off the engine, or you’ll have a serious oil leak.
Then lubricate the new rubber o-ring with some fresh oil, and while you’re at it, fill the filter most of the way up.
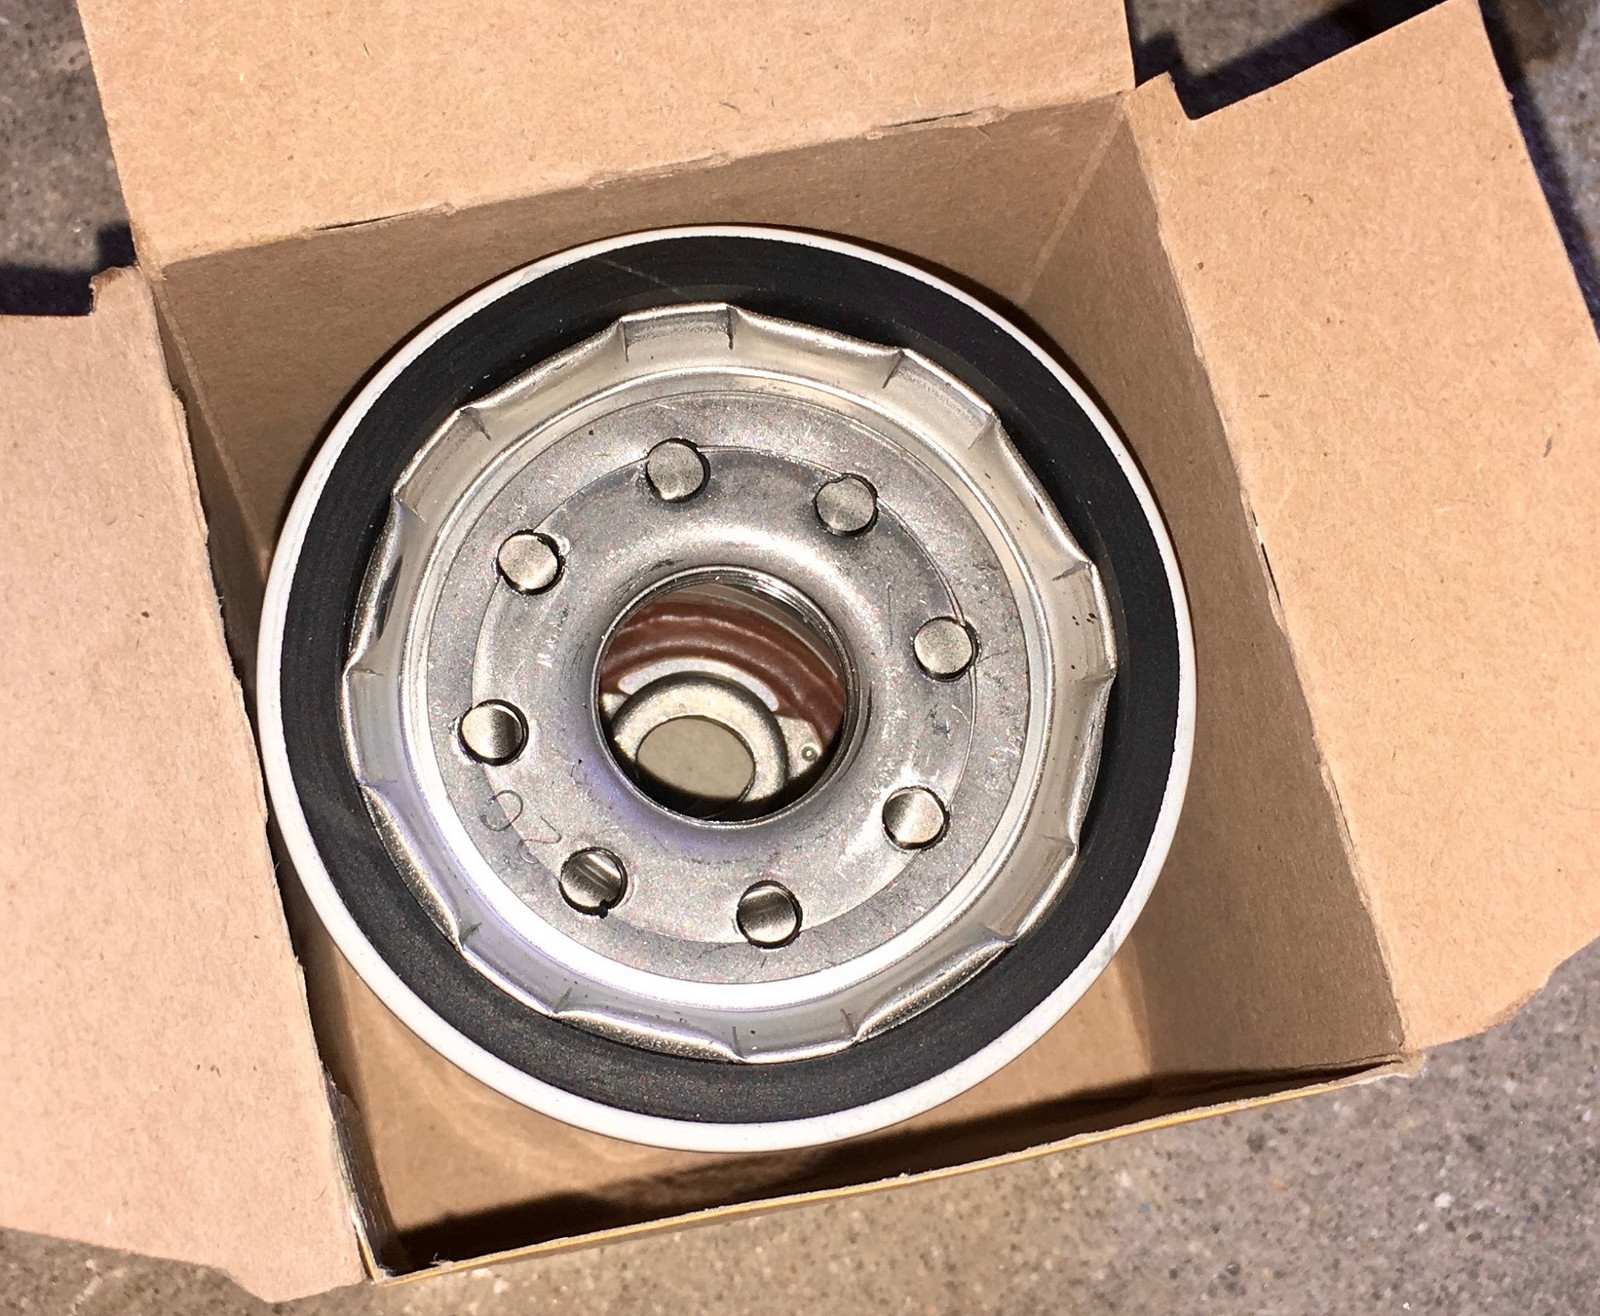
It’s… still tiny. I like big oil filters, ok?
Refilling with Oil
I strongly suggest putting a few quarts of oil in, and possibly all of it, and probably starting the engine and letting it circulate, before you put the aero shield back on. You won’t see a small leak until it’s made a huge mess otherwise.
The oil fill looks like it’s no fun, right? Deep, recessed, dusty…
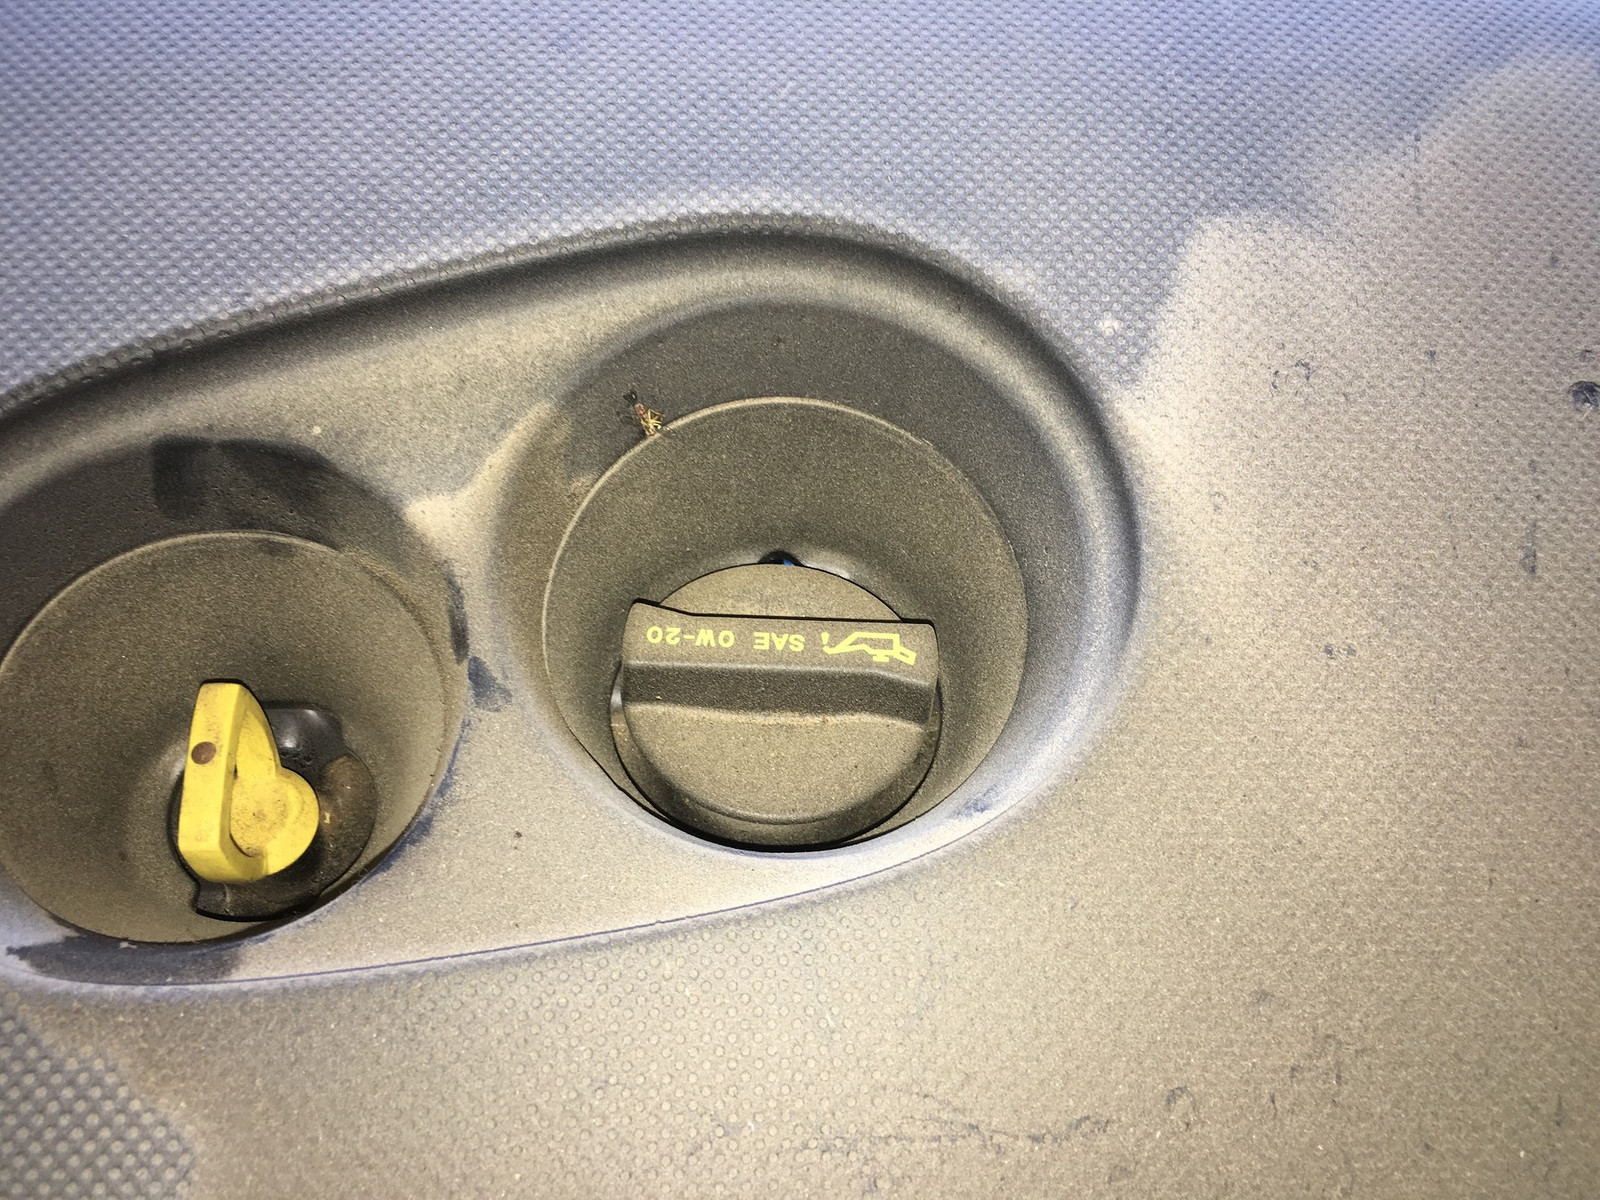
Nothing like those old 1980s oil fill caps where it was just there, sticking out, above the engine, easy to fill without making a mess, right?
Have I got a deal for you!
Grab the engine cover, pull up (it’s held on by 4 friction-fit things), and you get rewarded with an 80s style oil fill cap! Cram a few paper towels around it, and, boom. Easy!
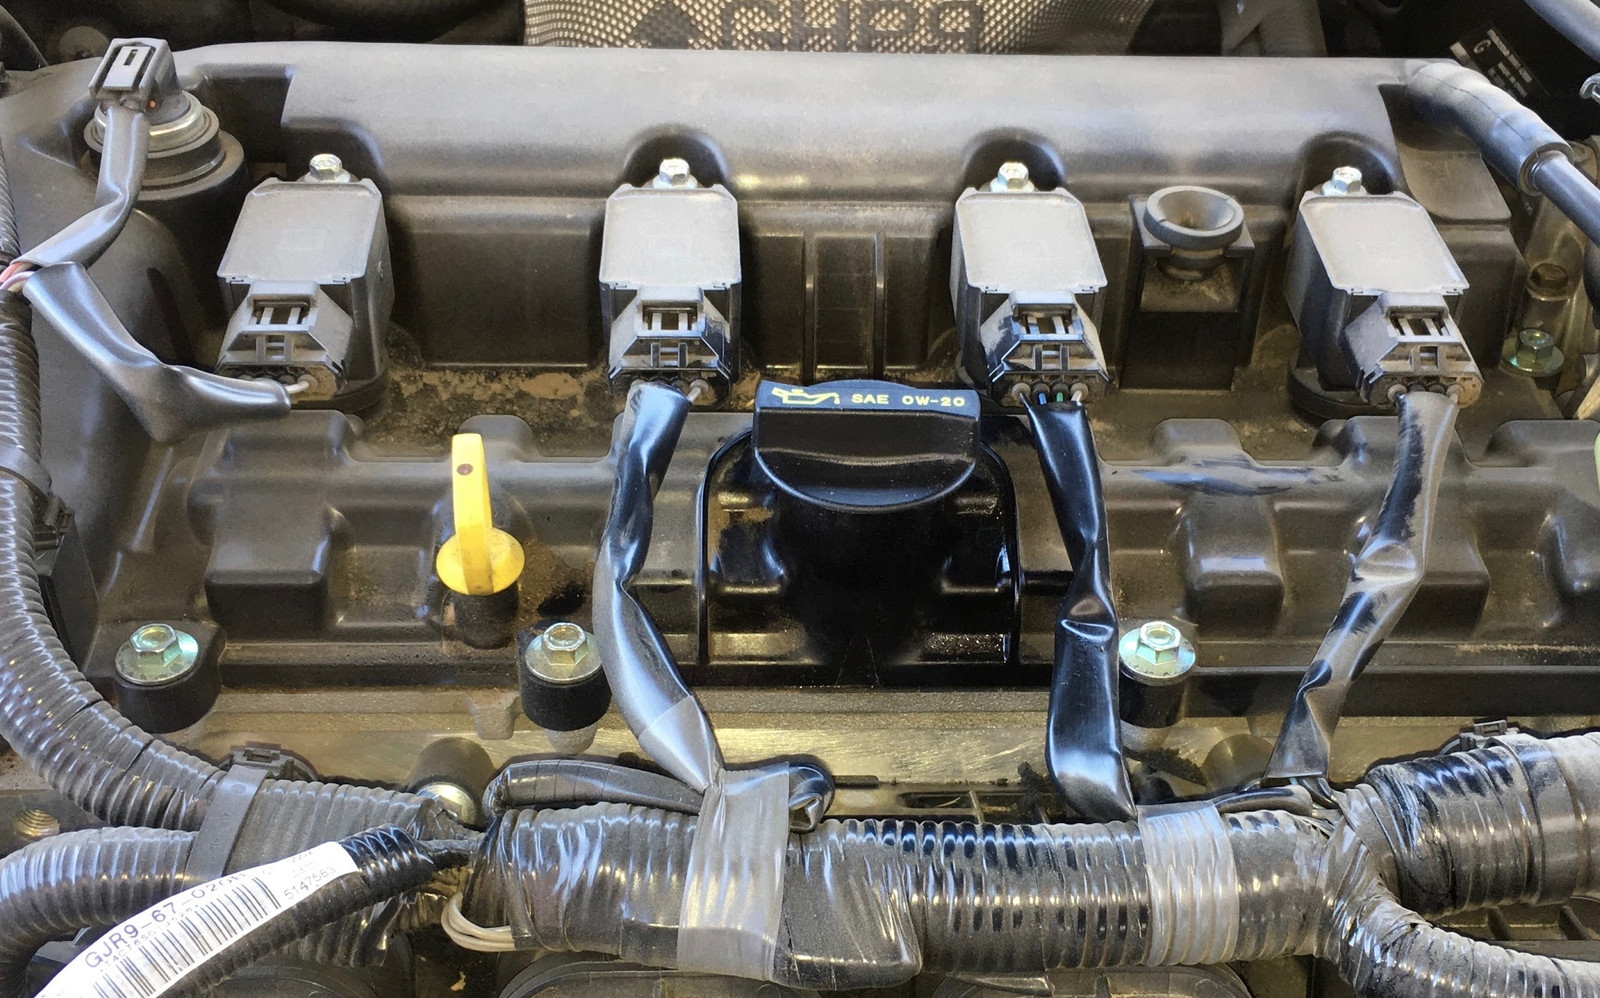
Reinstalling the Aero Shield
Did I mention that you should start the engine and check for leaks before you put this back on? If not, I’m mentioning it again. You won’t find a small leak on top of this shield until it’s made an amazing mess.
The front of the shield goes in first.
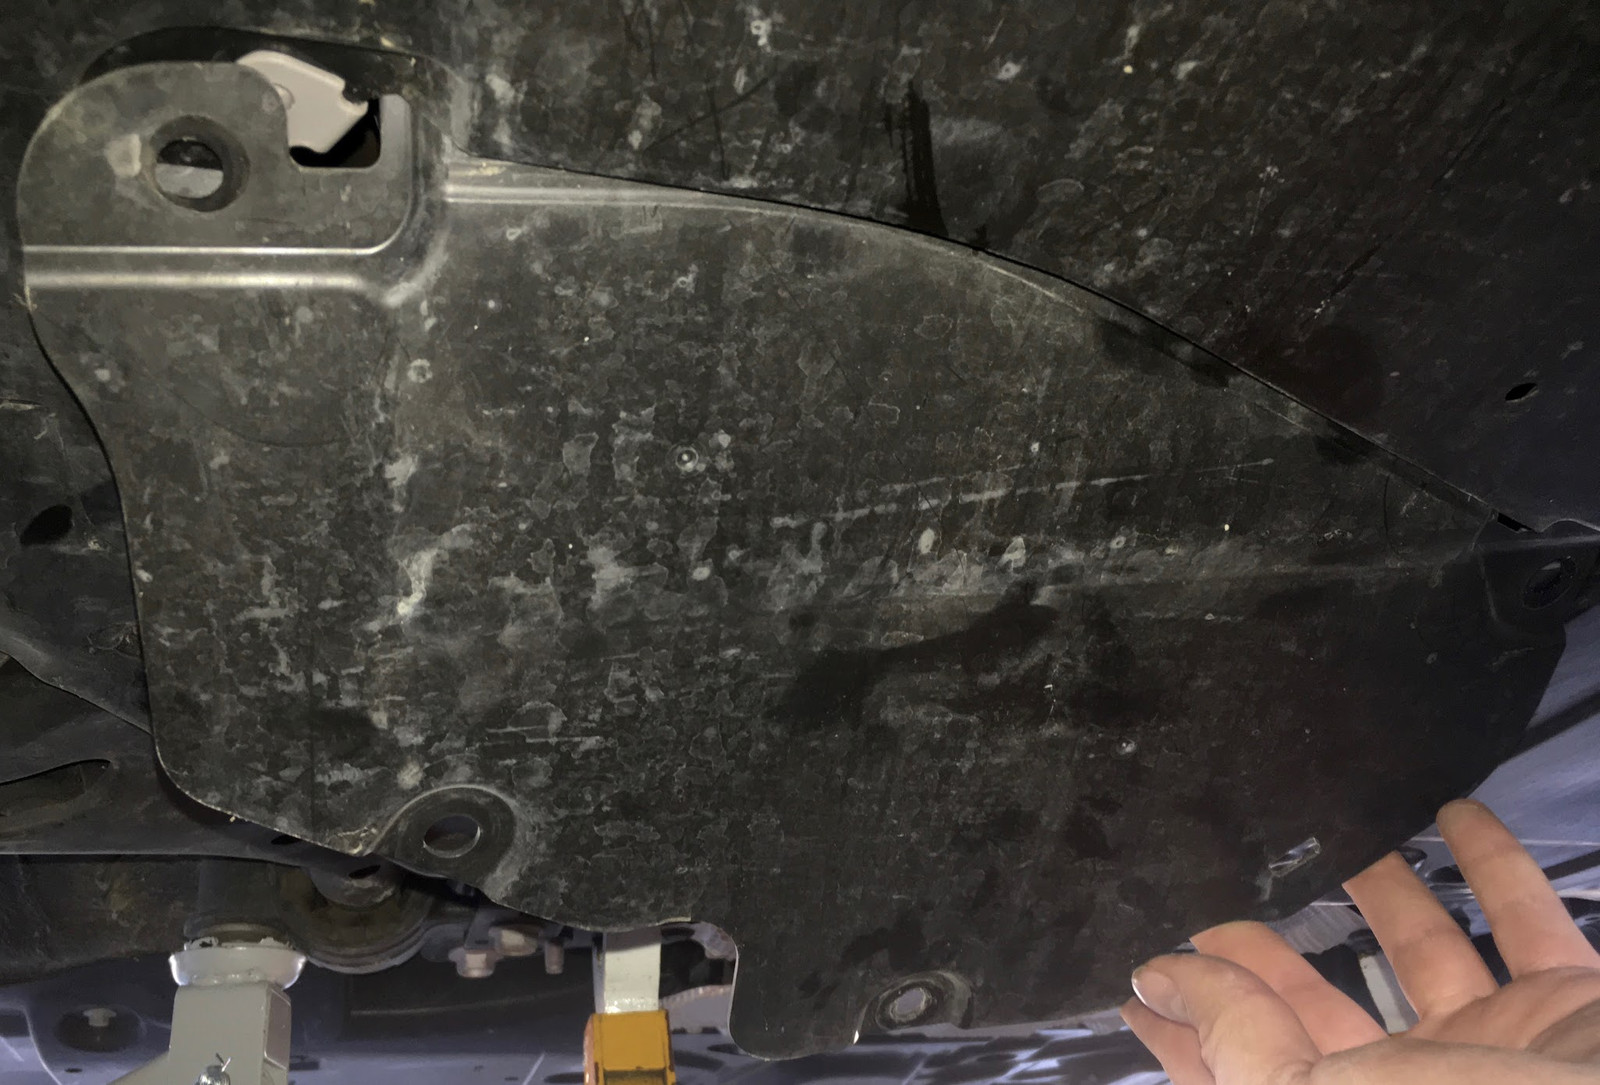
Then lift the rear and put the Mazda Push Clip in place.
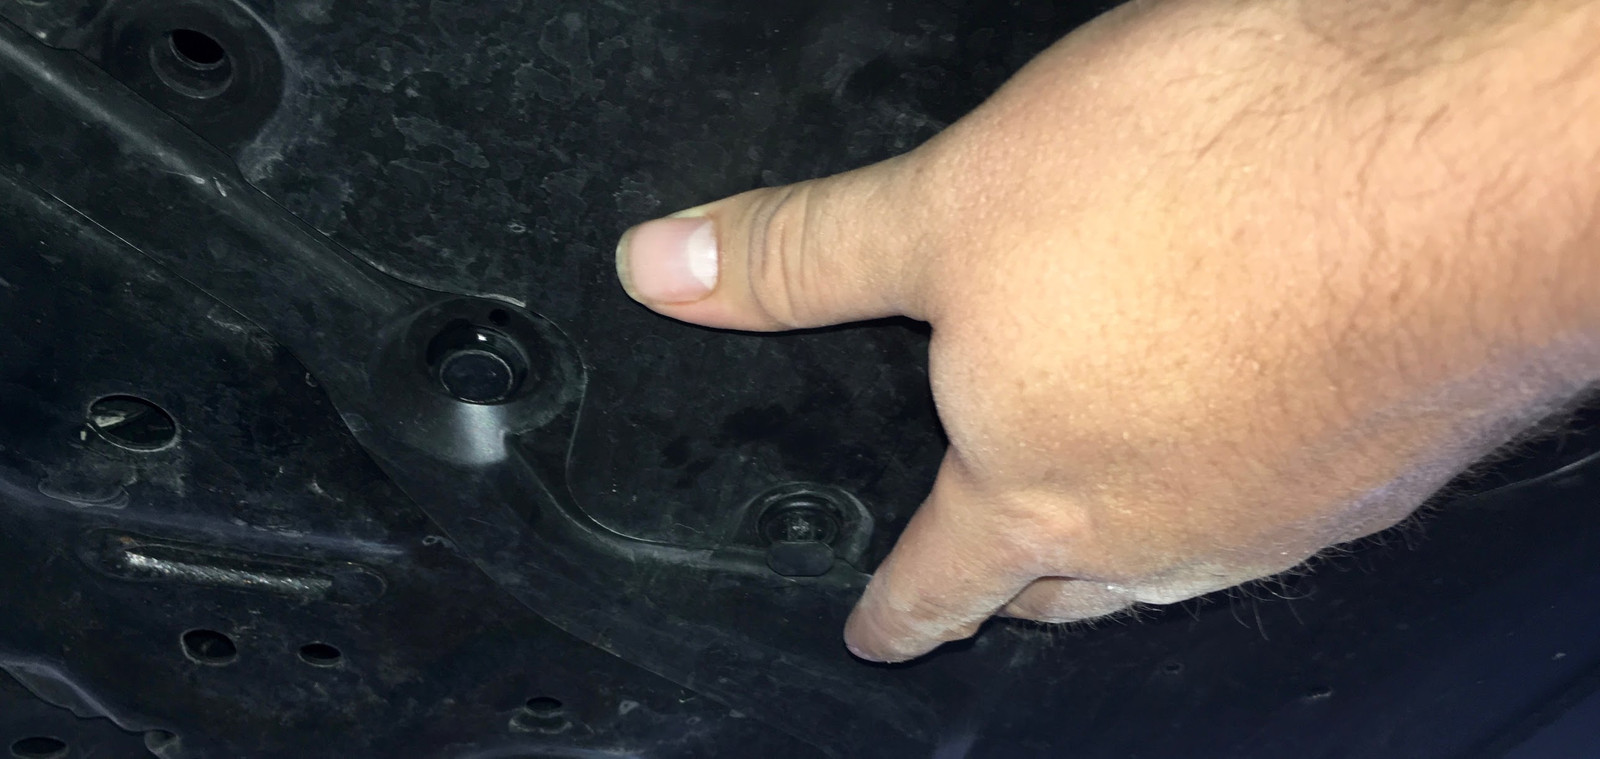
Press the center firmly into position - it should be flush with the surrounding ring.
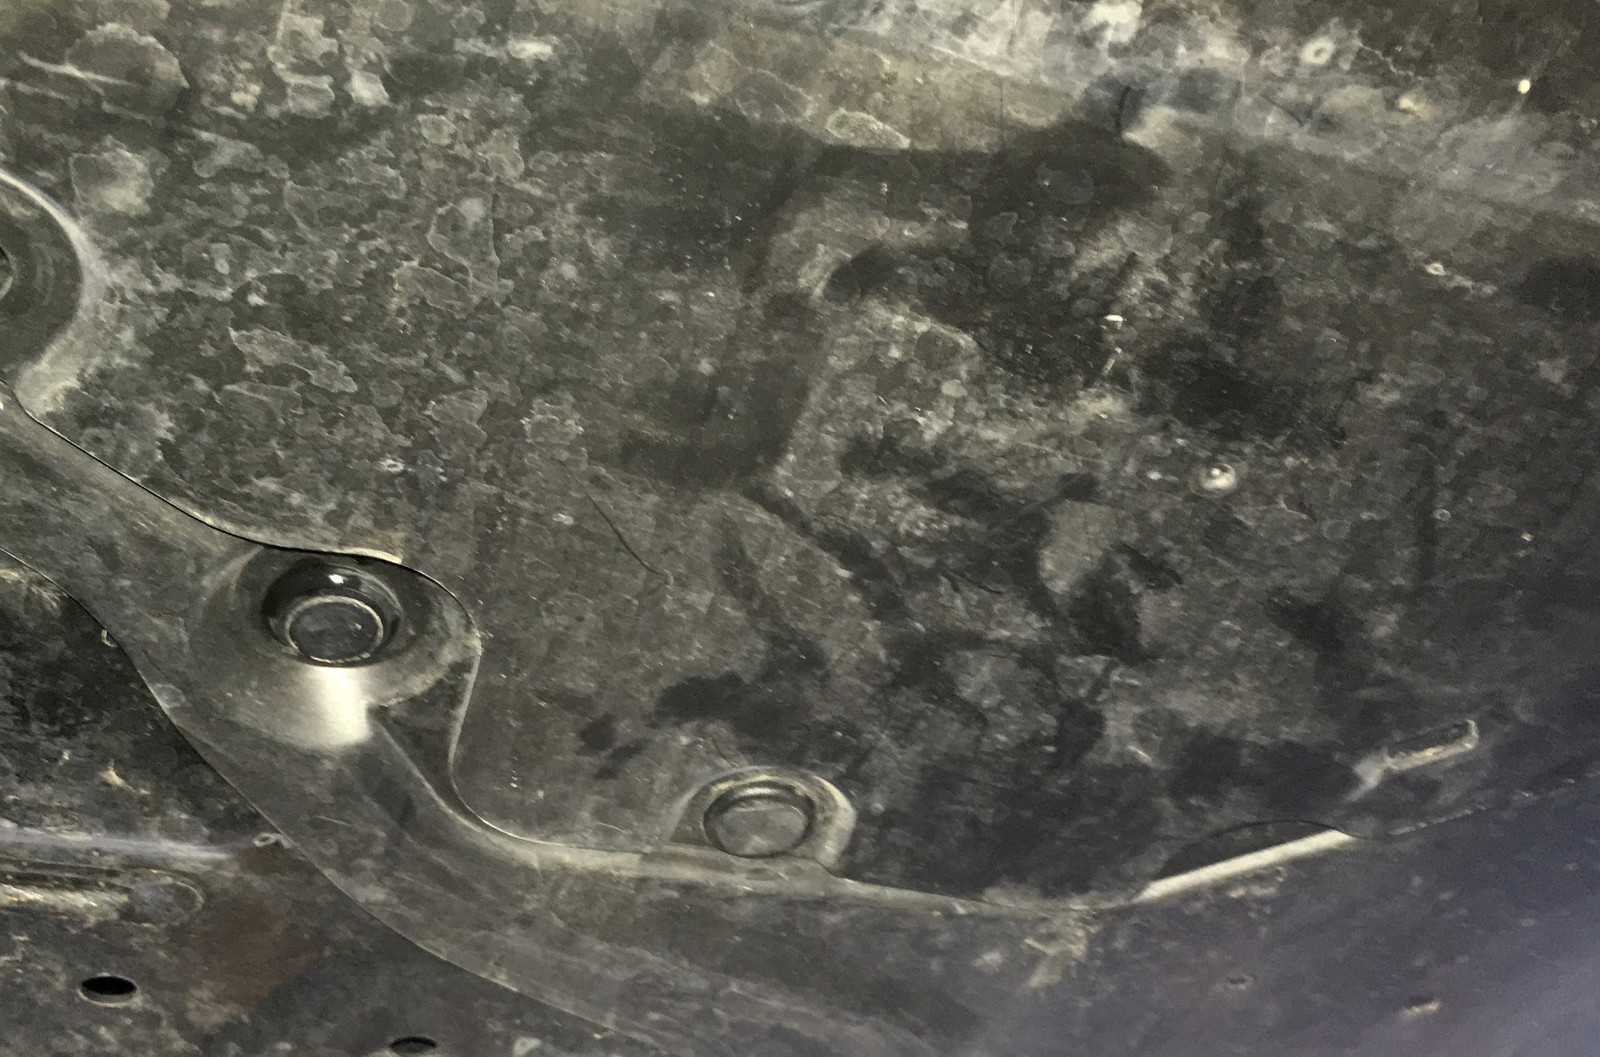
Then replace the two 8mm bolts and you’re done!
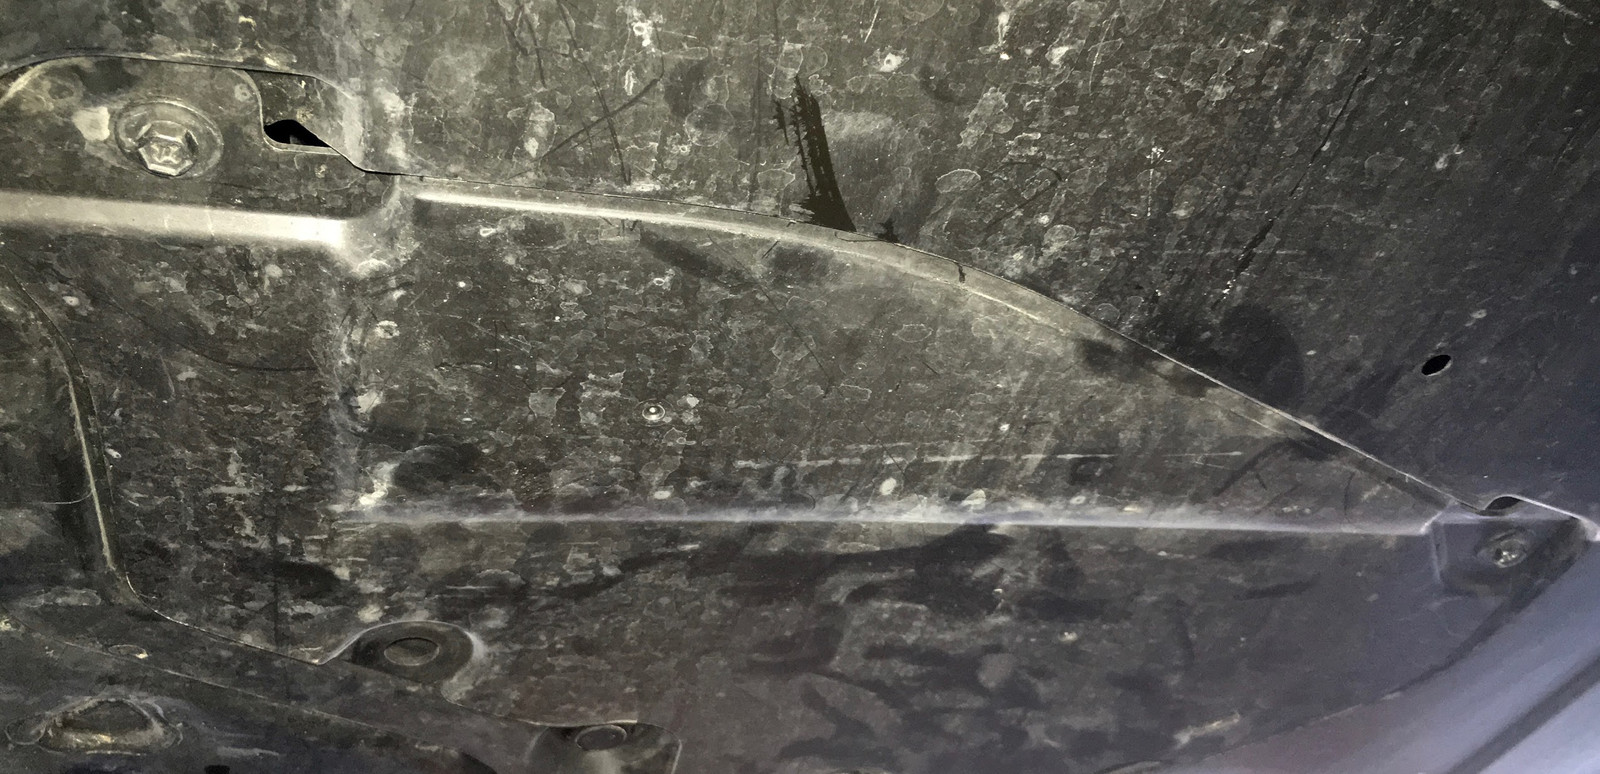
Total time should be around an hour. Less if you’ve done a bunch of oil changes.
Let me know in the comments if this has been helpful to you!
Comments
Comments are handled on my Discourse forum - you'll need to create an account there to post comments.If you've found this post useful, insightful, or informative, why not support me on Ko-fi? And if you'd like to be notified of new posts (I post every two weeks), you can follow my blog via email! Of course, if you like RSS, I support that too.


