

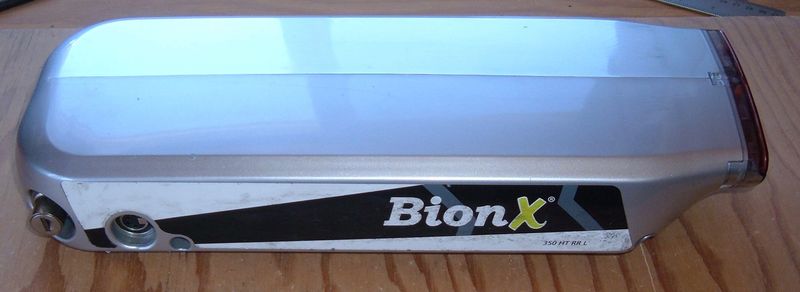
If you recall properly from last week, I tore apart a BionX 350 HT RR L battery. This being my blog, it probably means I’ll rebuild it to a larger capacity - and you’re right!

I left off last week with an unfolded pack and a bit of data about the cell layout. This week? Time to build the same thing!

This is, by far, the most complex pack build I’ve done. Read on for the details!
Building the Modules
The first part of this build involved figuring out how to lay the cells out to match the existing pack. I could get creative, but weird things are often weird for a reason in battery pack layouts, so I opted to match the existing setup exactly.
First, I glued the top and bottom batches of cells together in the proper orientation. It’s important to pay attention to orientation, as you can’t stack cells in the gaps where hot glue is - so be sure to glue the outside first.

With those done, I laid out the center cells in the proper orientation, and prepared to do some quick gluing.

Said quick gluing (ideally done with a hot glue gun that’s on the hot side of the operating range) leads quickly to assembled modules - like this.

Full Pack Layout
All three modules are built - here’s how they lay out logically. This is end to end, as things would be connected electrically were I building a long pack. You can see that each grouping of cells has 6 cells in parallel, laid out around the constraints of the pack module format. The negative terminal is in the lower left corner, and the positive terminal is in the lower right corner. Yes, I use a lot of painter’s tape while building packs…

Here’s how the modules will fold together. Same thing as above, just rearranged. You can see why the jumper wires along the side are needed.

Electrical Connections
I don’t have a cool nickel strip laser cutter (or whatever they use) - so I have to build my replacement interconnects out of nickel strip. I use 0.15mm thickness strip (same as the original pack), with a heavily connected mesh. There’s plenty of current path, plenty of metal, and plenty of spot welding that goes into it, so I’m not concerned about the difference from the original. The BionX systems really don’t pull that many amps.
A blend of precut tabs and nickel strip on a spool covers my needs. I use the precut stuff where I can, because it’s faster to use that. My spot welder soldiers on as usual.
Tabs going off the side get protected with a bit of fishpaper insulation (you can see this in the top right). This is partially for electrical insulation, but mostly for thermal insulation when soldering wires to them.

Another module. Same concept, different strip layout. For this one, I leave a single strip on the cells over on the right edge - this will be a joint, and I want a solid surface for welding the interconnect strips. The painter’s tape is to insulate things, just in case a tab bounces around - I don’t like low-ohm shorts.

Finally, everything is spot welded and ready to be joined. The arrows and labels on the modules are very important - this is not a symmetrical pack like most of my builds, and things have to be in the right orientation at all points, or things will get really, really exciting in a hurry.

Folding the Pack
Before getting ready to spot weld the pack together at the joints, I need to cut out the insulation for the ends. This prevents shorting, so is rather important. I’m using a thicker insulating paper than I normally use for packs because there will be cells facing each other (instead of just facing air).

The joint strips are spot welded in place. For this one, the strips weld directly to the positive terminals on the left side. On the right side, they weld to pre-existing strip. You can stack nickel strip easily (it welds to itsself quite nicely), so there are no problems here.

Insulators applied. The pack will fold over at the joint!

And, folded over! A tiny bit of nickel strip sticks out, but will be insulated prior to putting the pack back in the case.

Final Wiring and Insulation
Finally, with the pack spot welding finished, I can attach the remaining jumper wires and connect things up to the BMS board.
The terminals are all heat shrink covered, as is proper. Followed, of course, by heat shrinking them.

Almost done. I have to say, I like how this pack looks. It’s a lot of work to build, but it’s a pretty snazzy looking pack in the end!

For structural strength, I use some of my more standard insulating paper cut to size. This holds everything together, and also provides some additional protection for the cells.

The arrows line up, so that’s good!

Finally, the positive and negative terminals are reconnected, the thermistor is glued in place, and the pack is wrapped up with another layer of insulation before being put back in the case.

With a final bit of wrangling, the new battery pack slides into the case, the case slides closed, the bolts go in, and I perform my function testing!

Final Thoughts
This is certainly a more complex rebuild than my usual packs - but, fundamentally, it’s the same thing, laid out differently.
And, like all my other 60 cell BionX rebuilds, the end result is a 13.5Ah pack - about a 30% improvement from the stock 9.6Ah, and usually a good improvement over what it’s worn down to.
Will I rebuild yours? Absolutely! The contact form is on the right!
============
This will be the last of my battery pack posts, at least for a little while. I’ve finally caught up on documenting the packs I’ve seen and rebuilt. Next week, for the 31st, I’ll be doing some year end reflection and resolutions for the next, and then I’m off into other topics until it warms up outside and I can build things again.
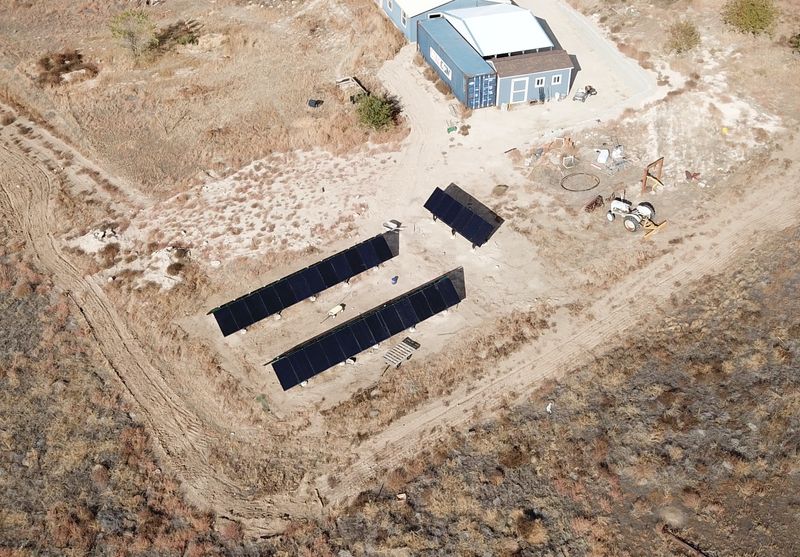
For those wondering, my solar shed is doing just fine in the winter - though heat and power come from propane and gasoline, more often than I’d really prefer.
Merry Christmas!
Comments
Comments are handled on my Discourse forum - you'll need to create an account there to post comments.If you've found this post useful, insightful, or informative, why not support me on Ko-fi? And if you'd like to be notified of new posts (I post every two weeks), you can follow my blog via email! Of course, if you like RSS, I support that too.


