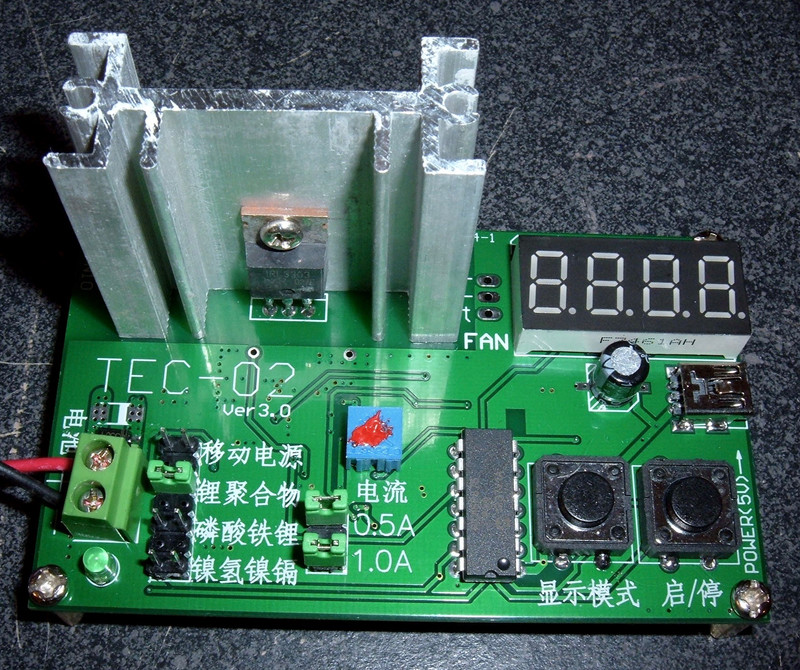

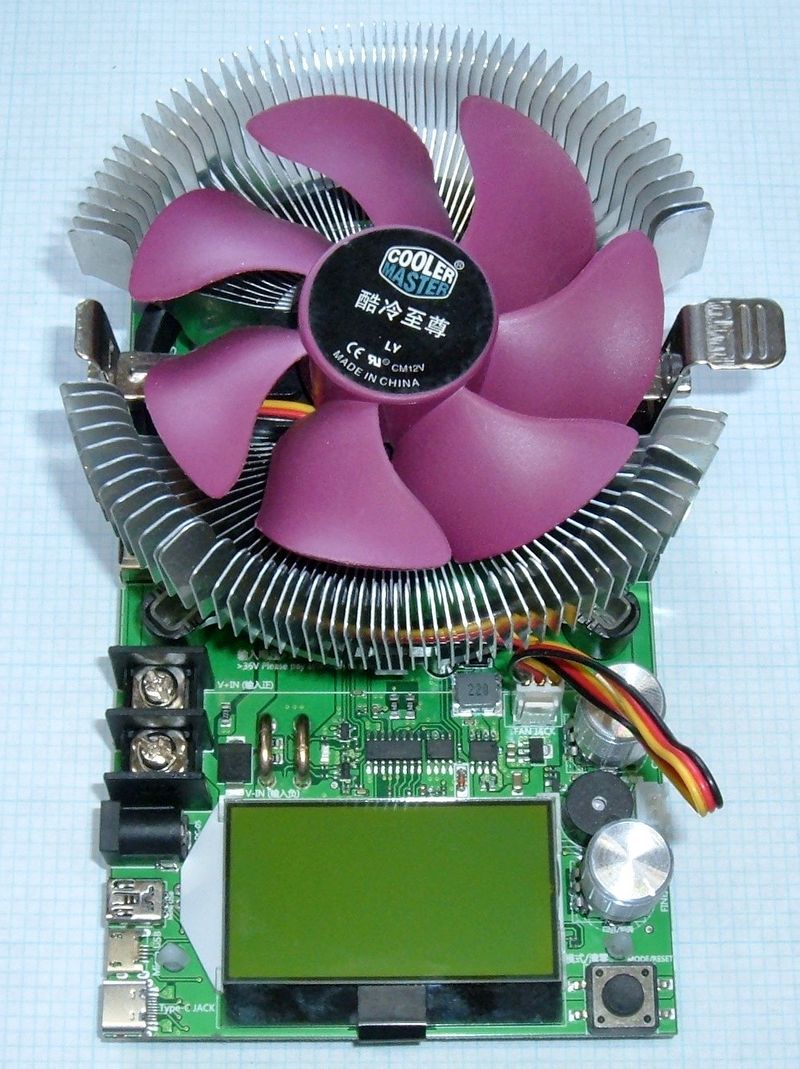
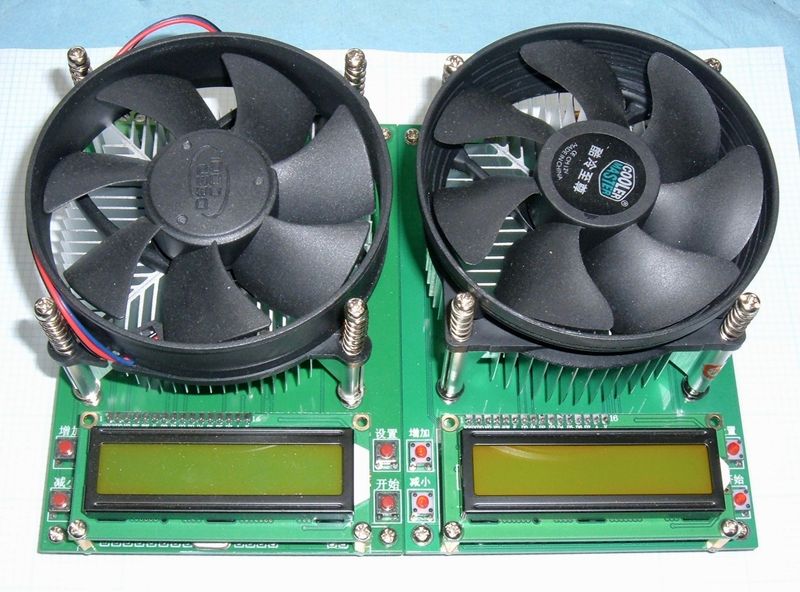
This is the first of my semiconductor based battery testers. It’s a TEC-02 Ver 3.0 unit.
I purchased mine on eBay as a 5V Lithium Li-ion LiFePO4 NIMH Battery Capacity Tester Voltage Detector Analyzer. $11.58 shipped - not half bad for a semiconductor based unit!


As usual, I’m going to dive into translating the manual, then do some analysis on it.
Manual Translation
100% Brand New and High Quality
This is a battery capacity tester, and cannot instantly detect the battery capacity. The detection takes time. The battery needs to be fully charged before testing, and the test time is equal to the battery capacity divided by the discharge current. An instant battery capacity detector does not exist.
In order to be an accurate battery capacity detector, you need three things:
- Actual current is accurate.
- Timing is accurate.
- Termination voltage is accurate.
TEC-02 Battery Capacity Meter’s Five (really six) Characteristics:
- You can select the discharge current: 0.5A, 1.0A, 1.5A. You can switch between these during testing without losing your measured capacity.
- You can display the battery voltage, battery capacity, and discharge current.
- The tester supports five kinds of batteries: NiMH/NiCd, Lithium Iron Phosphate, Generic Lithium Ion (~3.7v), Portable Power (USB phone chargers), and a custom voltage (default set for 12v lead acid).
- The tester runs on a mini USB port (note: Not micro USB like others - mini!). Use a standalone charger to power it, not your computer.
- The voltage can be calibrated.
- Size: 92x54x42mm.
Operating Details
There are two current selection jumpers: 0.5A and 1.0A. If both are selected, the current is 1.5A. This can be switched without resetting the unit.
The digital display has three states: AH (capacity), V (battery voltage) and State (if it’s happy or unhappy) - select by pressing the “Display Mode” button (the left one) to switch modes.
In AH display mode, the minimum value displayed is 0.001AH (1mAh), and the largest value is 60AH. The precision is determined by the decimal point.
In V display mode (right most symbol “U” or “V”, if you imagine), the battery voltage is displayed to three significant digits. The measurement accuracy is 1%, and when the battery is being discharged, the voltage is the open circuit voltage. If you measure the battery with a voltmeter during discharge, it will be lower than displayed, but if you pause the detector, the voltages will match.
Device States
In STATE mode, there are six codes that can be displayed. Four are fault codes, one is an end code, and one is a “all is good” code.
END: End of measurement after the value appears. Press start/stop for 2s to clear the capacity value and reset.
JP-1: Multiple battery types are jumpered. You can only pick one battery type!
HI-V: Battery voltage is too high for the selected battery type.
LO-V: Battery voltage is too low for the selected battery type.
LO-A: Battery current is too low - cannot provide the requested current. Press start to reset. If the battery still provides this fault at the 0.5A setting, the TEC-02 tester cannot test it, and you should consider the battery damaged.
GOOD: Normal code, everything is awesome!
Battery Types
There are five kinds of batteries, selected by the jumper. From top down (starting voltage - ending voltage):
NiMH/NiCd (1.6v-1.0v)
LiFePO4 (lithium iron phosphate) (4.0v-2.5v)
Lithium Polymer (standard LiCo & associated) (4.5v-3.0v)
Mobile Power (USB battery packs) (6.4v-4.0v)
No jumper: 12v Lead Acid (14v-11v)
Calibration
Calibration is rather non-intuitive. Press and hold “display” while powering the device on to cycle through available calibration settings (have a battery and voltmeter handy while doing this). There is no indication what setting you’re on other than the voltage indicated.
There are N settings. With a battery that shows 4.16v, it cycles through 5 displayed voltages:
4.12v, 4.16v, 4.19v, 4.22v, 4.26v.
I believe that these are -3%, -1.5%, 0%, +1.5%, and +3%, based on documentation.
How to Use
- Connect the battery. There is reverse polarity protection.
- Select the battery type with the left set of jumpers (use the above table).
- Set the current (0.5A, 1.0A, or 1.5A).
- Press the “Run/Stop” button to start. If it doesn’t start, press “Display Mode” to show the errors. If you see errors, correct them until you see “Good.” The display will update as you change the jumpers. Then press “Run/Stop” to start.
- The default display is AH (battery capacity). If you want to monitor voltage (unloaded), press “Display Mode” to toggle through AH - V - STATE.
- When the tests are complete, the “END” code appears. AH mode shows the battery capacity. Press “Start/Stop” for 2s to clear the value and codes and start a new test.
- During the test, the LED in the lower left corner will flash, proportional to the discharge rate. When the test is done, it will be on steady.
How it works
This device controls the battery discharge current. The current is always at the set value, not based on the battery voltage (as a resistance based device is). If the battery has too high an internal resistance, the battery may not be able to provide the specified current. If this is the case, the device will prompt the user.
The microcontroller tracks the discharge time. During the discharge cycle, the system will pause for a moment to measure the open circuit voltage on the battery. This pause is less than 0.5% of the discharge cycle. After the open circuit voltage drops to the lower limit, the test ends.
Measurement Accuracy
Voltage: 1%
Current: 1%
Capacity: 2%
General notes
Battery tests at low currents will typically have higher capacity than at high currents. This is due to the battery reactions not being able to keep up and causing low voltage shutdown. This is not a problem with the instrument.
If your battery has a protection circuit, the open circuit voltage may measure above the cutoff voltage while the actual battery voltage under load drops below the protection cutoff point. This will cause the protection board to shut the current off, and the TEC-02 will terminate measurement at this point.
After the test finishes, the battery voltage will rise. This will be higher than the termination voltage. A good check is what the battery voltage is ~10s after termination.
Power Handling
The radiator can handle a maximum of about 10W. While you could select 1.5A of current with a 12v battery, this would radically exceed the heat sink capabilities, so only select 0.5A. Caution: Heat sink will get hot. Use a fan. There is a fan header, but I’ve not played with it.
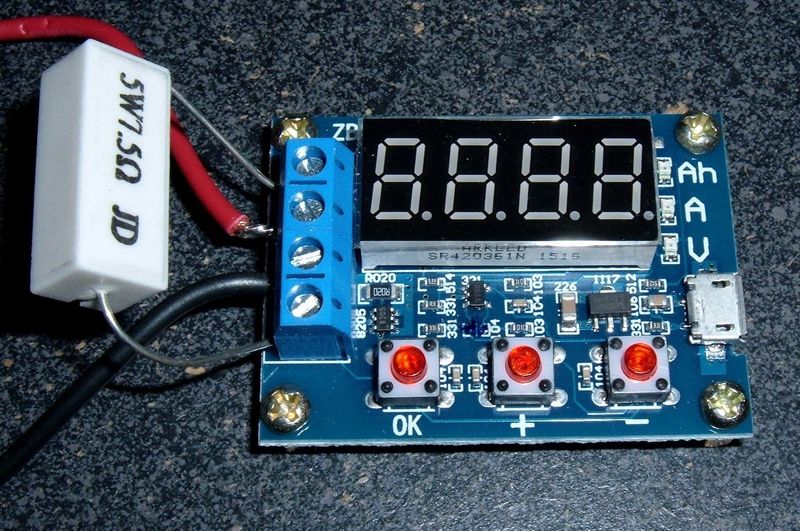
Syonyk’s Guide to The TEC-02
This is a simple device to use, if you ignore the writing on it and memorize how to use it. Or just don’t mess with the settings often.
The jumpers control your battery cutoff voltage and amperage. The left side is your battery type. Voltage goes up as the jumper goes up. The right side is your amperage.
From the top down:
USB chargers (4.0v cutoff)
“Standard” Lithium (3.0v cutoff)
LiFePO4 (2.5v cutoff)
NiCd/NiMH (1.0v cutoff)
For 12v batteries (cutoff set to 11v), just remove the jumper entirely.
Set your amperage with the jumpers (they sum to 1.5A if both are installed).
The left button toggles between AH, voltage, and state (Good, End, Error, etc). The right button is the start/stop button.
Once you have everything set up properly, tap the Start/Stop button. The unit will start testing as indicated by the lower left light flashing. The display button will toggle between AH, unloaded voltage, and state. The voltage will update roughly every 8s. You want to see “Good” on the status display.

Analysis
Voltage Accuracy
I calibrated my unit at the 0% setting, since this seems closest with a discharged battery.
At the calibrated voltage, it’s accurate. It shows 3.35v against my voltmeter’s 3.346v. Close enough!
With a fully charged battery, though, it’s reading high. With the same calibration, my meter reads 4.15v, vs it’s 4.20v. Ouch. 0.05v.
If I recalibrate at the high voltage setting, I get the following (at the -1.5% setting):
Meter reads 4.16, unit reads 4.16.
Meter reads 3.365v, unit reads 3.34v.
I’m disappointed that I can’t have accuracy at both ends like most of my other testers. Not good. However, you should calibrate at the bottom end, with a discharged battery, since the only important thing this tester does with the voltage is the cutoff.
You should definitely check this unit with a voltmeter. It’s close enough that it’s not the end of the world (it’s not off by half a volt or anything), but… double check anyway. 0.05v is still 0.05v, and we can do better in 2015.
Unloaded Voltage Measurement
One interesting aspect of this unit is that the voltage shown while testing is the unloaded voltage of the cell. I set out to understand this, because how it does this is important - pulsing the battery aggressively is bad. However, this unit seems to do it properly! During testing, about once every 7 seconds, for a brief period of time (0.2-0.3s, maybe?) it unloads the battery and measures the voltage. This unloaded voltage, not the loaded voltage, is what it uses for cutoff calculation and such.
Towards the end of the battery’s discharge, if you’re watching the voltage display, you’ll notice it only updates every 7-8s. That’s the unload and measurement interval.
This seems quite reasonable, and is the generally accepted way of checking ending voltage, as near as I can tell. Excellent!
Capacity Tests
I ran my two test 18650s through this unit, then noted the recharge capacity with my XTAR VC4 charger. I’m not very impressed.
Battery A
0.5A: 2643mAh, recharge 2623mAh.
1.0A: 2690mAh, recharge 2607mAh.
Battery B
0.5A: 2657mAh, recharge 2666mAh.
1.0A: 2687mAh, recharge 2651mAh.
I would expect to see more capacity out of the batteries at the 0.5A drain than at the 1.0A drain. You’ll note that, for both batteries, this unit reported a higher capacity for a 1.0A drain than the 0.5A drain. In contrast, the charger put slightly more into the batteries after the 0.5A drain than the 1.0A drain. The charger matches what my other units do. This tester does not.
I will at least grant that the measured capacity in the ballpark with all the other testers, but that it reports a higher capacity at higher drain, in contrast to what other testers and the charger reports, indicates it’s not that accurate.
There’s no good excuse for this, sadly.
Conclusions
There’s no good reason to buy this tester. It’s not utterly wrong, but it’s inaccurate in enough ways that I have no real confidence in the answers it gives. It will give you an answer. Just probably not a right answer.
You can do better. Don’t buy this unit.
Comments
Comments are handled on my Discourse forum - you'll need to create an account there to post comments.If you've found this post useful, insightful, or informative, why not support me on Ko-fi? And if you'd like to be notified of new posts (I post every two weeks), you can follow my blog via email! Of course, if you like RSS, I support that too.

