
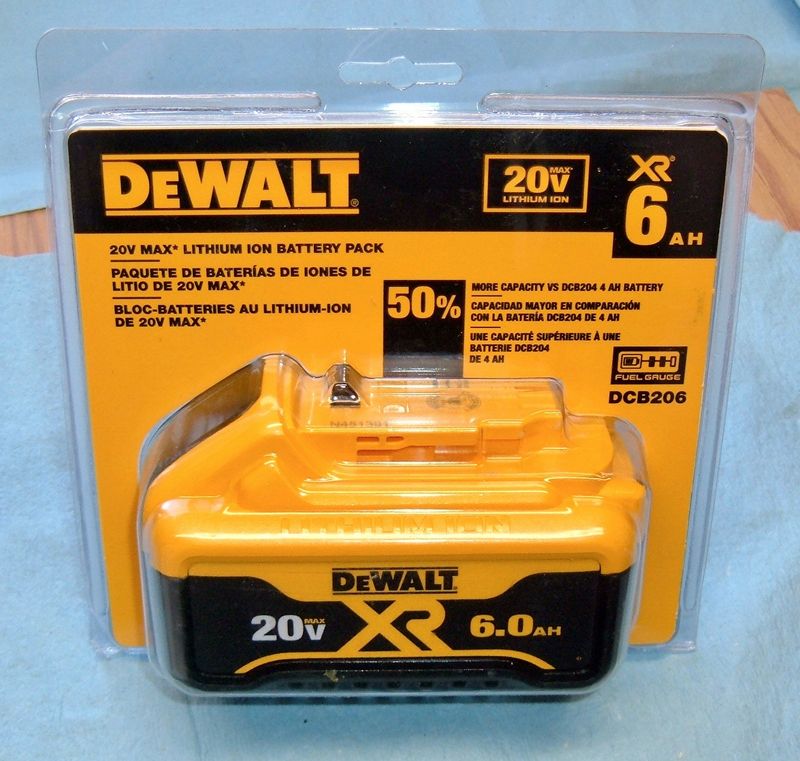
Last week, I reviewed a brand new DeWalt 20V Max 6.0Ah battery - but I did leave one important question unanswered - a question that is obviously on everyone’s mind.
Can you fry an egg with this battery?

This is a question that, as far as I can tell, simply hasn’t been answered. I’ve found plenty of urban legends about cooking eggs with cell phones (not remotely plausible), and there’s a YouTube video that seems to imply an egg being cooked with a battery of some sort or another - but a tool battery? A DeWalt tool battery? I can’t find a thing!
Which, of course, means that I need to try! Read on to see what happens.
Building a Battery Powered Egg Fryificator: The Plan
One sad fact of nature is that if I have a battery, I probably can’t just fry an egg on the battery (or, at least, not without some serious battery abuse - and I would prefer this pack remain operational).
So I have to build some sort of battery powered egg frying device. I have a shop full of electronic components - and, most importantly, some beefy power resistors that I’m willing to run well beyond rated power. I normally apply a 50% power derating to anything out of China, but a power resistor should handle some overload. Say, 200%. And I’ve got enough of these things that if I do light one on fire, well, I’ve learned something important (which qualifies as “doing a science”) and still have spares.
This is a 1Ω power resistor rated for 200W. I intend to run it at twice that (briefly), then well beyond rated power for at least a few minutes in my attempt to fry an egg.

My basic plan is as follows:
I know that the DeWalt 3Ah tool packs are designed for 30A. Give or take. This higher capacity pack should be able to source at least 30A. A 20V pack, run through an 0.5Ω resistor bank, should start out around 40A and drop down. 40A at 20V is 800W, which split between two resistors is 400W per. However, as the voltage drops, the current and power will drop off. So it won’t be sustaining 800W for long (realistically, I don’t expect to actually see 800W out of the system even initially).
These resistors are large, heavy, and have a lot of thermal mass - which means they will take a while to heat up. But, it also means that they will continue emitting heat for a while after the battery is disconnected.
In theory, “heat” plus “egg” makes “lunch.”
Monitoring System
I could do this blind and with a standard handheld voltmeter stuck on for voltage monitoring - but that’s no fun, and leaves an awful lot of data on the table. Data like amps and watt-hours! Useful data!
Poking around eBay, I found a great 100V/100A wattmeter. Shortly before clicking “Buy it Now,” I decided to look around my office because this particular device seemed oddly familiar looking - and, yes, I had one on a shelf. I equip my office properly.

This little gizmo will measure DC voltages from 6.5V to 100V, and DC current from 0A to 100A - which is perfect for something in the 20V range and 40A range. I probably won’t even blow this device up!

This device offers me realtime voltage monitoring, realtime amperage monitoring, realtime power monitoring (in watts), and a cumulative watt-hour reading - in single watt-hours for low values.
It’s ideal for what I’m about to do. I have a battery that claims to be 120Wh. I can beat on it, monitor the power and current, disconnect it before I actually damage it, and see how much power comes through!
I intend to build the diagram on the back of the power monitor, wired properly, with my battery-under-test as my DC IN source, and my load resistors as the (obviously) load.
Building the Adapters
Unfortunately, my shop did not contain the proper adapters needed to make this particular project happen - so I have an excuse to build adapters!
I’ve standardized on Anderson Powerpole connectors for moderate amperage connections in my test environments (below 50A or so). They’re easy to work with, easy to connect, easy to disconnect, and lead to reusable test harnesses - I can just replace the load with other loads in the future. Yes, I do have a lot of these - and, yes, a drawer full of Powerpole connectors is an absurdly useful thing to have.

The first step is to replace the screw-down connectors on the resistors with PowerPoles. This is pretty straightforward. Clip the old ends off, strip the wire, apply connector. Done!
These resistors have a funky fabric insulated wire on them - quite weird for 2017.

The next step is to build some “Y” adapters - I need to connect these two power bricks in parallel.
The normal way to do something like this would be a large crimp connector, and I don’t have anything large enough to over three 10 gauge wires. So, solder it is. You definitely did not read about this in the National Electric Code, OK?

Anyway, an awful lot of high power soldering iron work later, some electrical tape, a few Anderson connectors, and a sense wire crammed in place, I have my parallel connectors! These will handle 30A for a while - they’re 10 gauge wire, and will be exposed, so they can radiate heat. ”How much current can this wire handle?” is largely a function of how efficiently it can radiate heat. Open air, outside, and “I would prefer it to keep the insulation from melting” means it can handle a lot of current.

A few more sense wires later, some shunt bolts hooked up, and I have what looks like a piece of monitoring equipment for an egg-frying project!

Testing the Hardware
Before doing something silly like running a dead short across a battery because I botched a wiring job, I like to test things with my bench power supply. I can independently set voltage and current limits - so I can do something like test at 10V with a limit of 1A. If there’s a short, I won’t blow anything up with 1A of current, but I can tell something is wrong.
And, in this case, things look correct - the bench supply is putting out 9.3V at ~0A, the display lights up, and I see no indications of a short circuit.

A subsequent test with a single 1Ω resistor hooked up to a spare tool battery shows that, yes, I have something faintly resembling a 1Ω resistor in place. The numbers aren’t quite perfect (I’d guess the load resistor) - but, in any case, things are more or less calibrated and ready to go!

Frying an Egg
So… how on earth do you fry an egg with this setup? Carefully, and in one take!
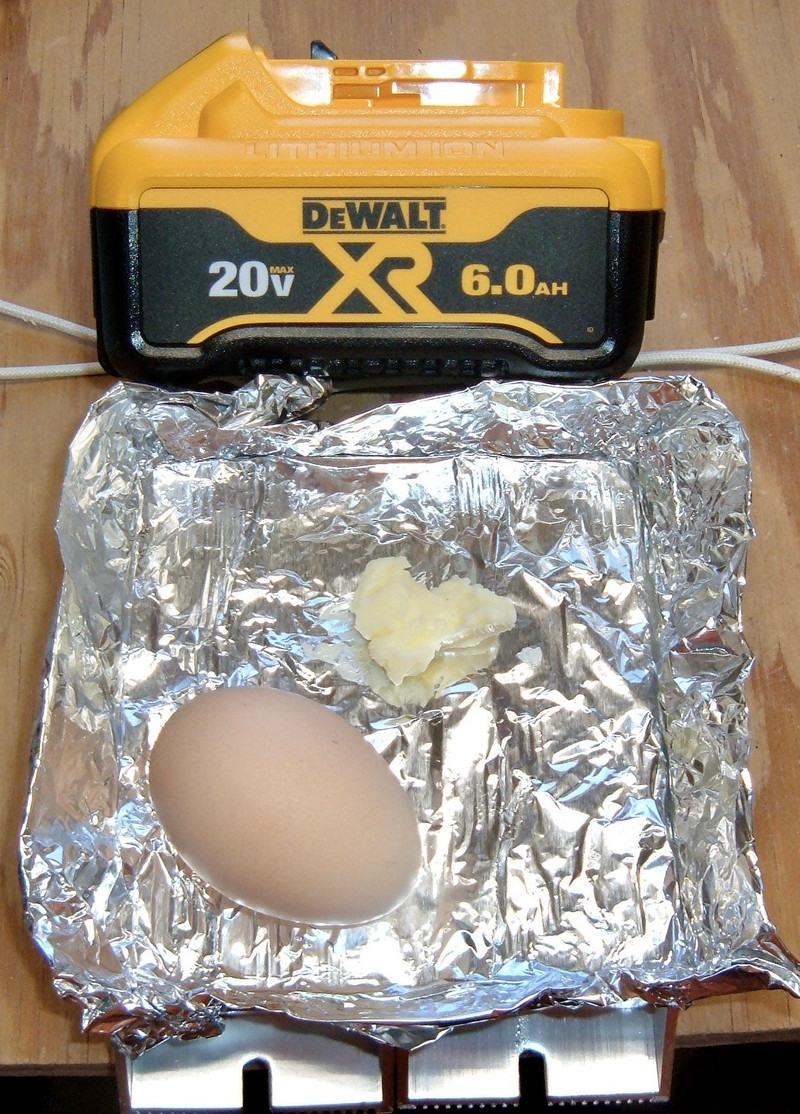
I started by covering the power resistors with some aluminum foil. This serves to give me a clean surface to fry an egg on - the power resistors have ridges that would make flipping the egg more or less impossible, and I sure don’t trust them to be clean enough to eat on.
Because I would prefer the egg not stick too badly, I’ve also got some butter - this is a proper test of egg frying!
My experimental setup is outside and in the sun for several reasons.
First, it was a beautiful day, and I enjoy being outside - after this last winter, I can use all the sun I can get.
Second, and rather more importantly, I do try to avoid burning down my office - and this is firmly into the category of experiment that, if something goes wrong, could make things exciting. There’s a large fire extinguisher just out of frame to the left if I need it. The current and voltage monitor is below the battery pack, wired as described above.
You’ll note that the battery pack is out of the case here. This is mostly for visual monitoring of the pack - I know the cells can handle the current I’m going to ask, but I’m not sure about the wires and terminals. Anything smoking heavily or glowing on the battery pack is a good time to stop the experiment - runaway lithium cells are more excitement than I prefer in my life.

I also set up a GoPro to record the event - partly for data logging, partly for video proof, partly in case anything went spectacularly wrong.
With power finally applied and the egg in place, things started heating up. Initial voltage across the system (from a 20.5V fully charged resting pack voltage) was 18.11V with a solid 38.66A across the resistors.
My power resistors are fairly massive units, so there’s a lot of mass to heat up. My hope was that this delay would let me continue cooking after the battery was drained, if needed.

At 20Wh into the pack (out of a claimed 120Wh, and my math says closer to 110Wh), things are sizzling a bit around the edge, the power resistors are still running past 150% rated load, and nothing has started on fire yet. Also, no visible progress on the egg.

An attempt to move the egg around broke the yolk - but things are starting to cook!

With the yolk starting to solidify where it broke out, I noticed some smoke coming from a power resistor. Just a small stream, so I decided to let it run - it quit in another 30 seconds or so. I’m definitely pushing these hard!

With the battery rapidly diving past my cutoff voltage of 12.5V (under load - this is somewhat conservative but I really don’t want to totally destroy this pack), there’s a reasonably cooked looking egg, 97Wh of energy through the pack, and still 24A coming out of this almost fully discharged pack! It’s time for Main ~Engine~ Battery Cutoff.

The remaining thermal mass of the resistors finishes cooking the egg - but the job is looking pretty darn finished already!

The Results
Test results: One very successfully fried and very tasty egg!

The insides weren’t fully dry, but were entirely cooked - and it was a very tasty egg!

With the aluminum foil on top, cleanup was easy - remove the tin foil and throw it away.

The pack was quite warm after this discharge. I could hold it, but only barely. The data sheet does indicate a significant temperature rise when pulling hard on the cells, and that was quite definitely the case here. Unfortunately, I lack an IR thermometer, so I don’t have data beyond “uncomfortably warm.” Which, for these cells, is still totally in spec.
Video
Just in case you’d prefer a video of the process, I sped up the process for your viewing enjoyment!
If you’d rather see the full thing, with no time compression (and the occasional comment about how the process is going), you can find that here.
Data Points & Analysis
As someone once told me, “The difference between science and just screwing around? Data collection!”
And I certainly collected data. The video stream of the monitoring was perfect for getting the data off a cheap wattmeter.

Converting the data into something more visual, you can see the pack discharge over time (seconds across the bottom). Power is the green line (times 10), and it certainly dives off towards the end.

After unloading the pack, it showed a resting voltage of 14.35V - dead, but not dangerously so. I still think 15V is a good cutoff point for this pack.
I’m a bit disappointed by the 97Wh out of the pack. I expected low because I was doing a high drain test (watt-hours will be lower because the voltage is lower), but this pack, on the back, claims to be a 120Wh pack (6Ah * 20V). Personally, I’d rate it as a 111Wh pack (6Ah * 3.7V * 5), and 97Wh out of that under high load makes a bit more sense. It’s just not a 120Wh pack by any meaningful engineering calculations. Still, it’s a huge amount more than the smaller packs!
Conclusion & Final Thoughts
“Betteridge’s Law of Headlines” is wrong for this post! You most definitely can fry an egg with a DeWalt 6.0Ah 20V Max tool pack!
I’m only mildly surprised that this worked without any spectacular failures - this pack contains a lot of energy, though I did expect a slightly less-well fried egg out of the deal. But it also shows that this pack is a beefy monster, and can source a lot of amps for quite a while. No smoke, no drama, just power.
I didn’t do any actual calculations before trying this, either. I just looked at the pack, thought “I bet I can fry an egg with this!” - and went for it!
What have you fried eggs with? Let me know below!
Comments
Comments are handled on my Discourse forum - you'll need to create an account there to post comments.If you've found this post useful, insightful, or informative, why not support me on Ko-fi? And if you'd like to be notified of new posts (I post every two weeks), you can follow my blog via email! Of course, if you like RSS, I support that too.


